3D printed Eurorack Case for Synth Development
We don’t know exactly what the final Hog Moduleur will look like yet — but we do know the goal: a fully modular analog synth housed in a single-piece enclosure. Until we get there, we need something flexible and dev-friendly to hold the modules as we build and test them.
Sure, we could just buy a standard Eurorack case… but where’s the fun in that? In true DIY spirit (and to save a few Hungarian dollaz), let’s build our own.
Modules and cases
(Jump ahead if you know what a modular synth is.)
At its core, every synthesizer — no matter if it's the super-compact OP-1, the semi-modular Moog Grandmother, or a full-blown Eurorack system — is made up of modules. These are individual building blocks like sound sources, filters, modifiers, controllers and so on and in modular synths, each of them is a standalone piece of hardware. You can build your system one function at a time, extending it as your needs grow.
Unlike pre-wired synths, playing a modular system require you to manually connect these modules using patch cables. That might sound like more work — and it is — but it’s also a playground for experimentation that helps you learn the signal flow and master not only your system but any synth you'll play in the future.

With the Hog Moduleur, we’re going to develop and release each module one by one: first the power supply, then sound sources, filters, and beyond. And while we’re building all that, we need a temporary enclosure — or rather, a frame — to hold these modules together. So let's design and build one!
What this frame needs to do
This isn’t just a random box we'll shove our modules in:
- We need to access our modules as we work on them so our frame should be open. While this is not great for electromagnetic shielding (yeah, let's prepare to be noisy for a while) but it makes testing and tweaking super easy. We'll need to turn trimmers, check signals and generally poke around a lot during development.
- Sizing should be Eurorack compatible because that’s a standard many of us are already using and it's great for reusability. This is also a constraint for the final, single-piece enclosure when we're done with all the modules.
- Because most people don't have access to a full woodworking shop at home, the frame should be easy to build. 3D printing is no-brainer here—it's common, reproducible, and even if you don't have a printer at home it's easy to find a local maker space or service.
- It also needs to be modular and extendable, because we’re figuring things out as we go and building the synth piece-by-piece.
- And finally, it should be deep enough to hold at least 2 stacked PCBs since some of the modules will need extra space.
Frame design
Like with any design project I first went looking for references. While I found a few cool designs, none of them really ticked all the above boxes (although this one was very close).
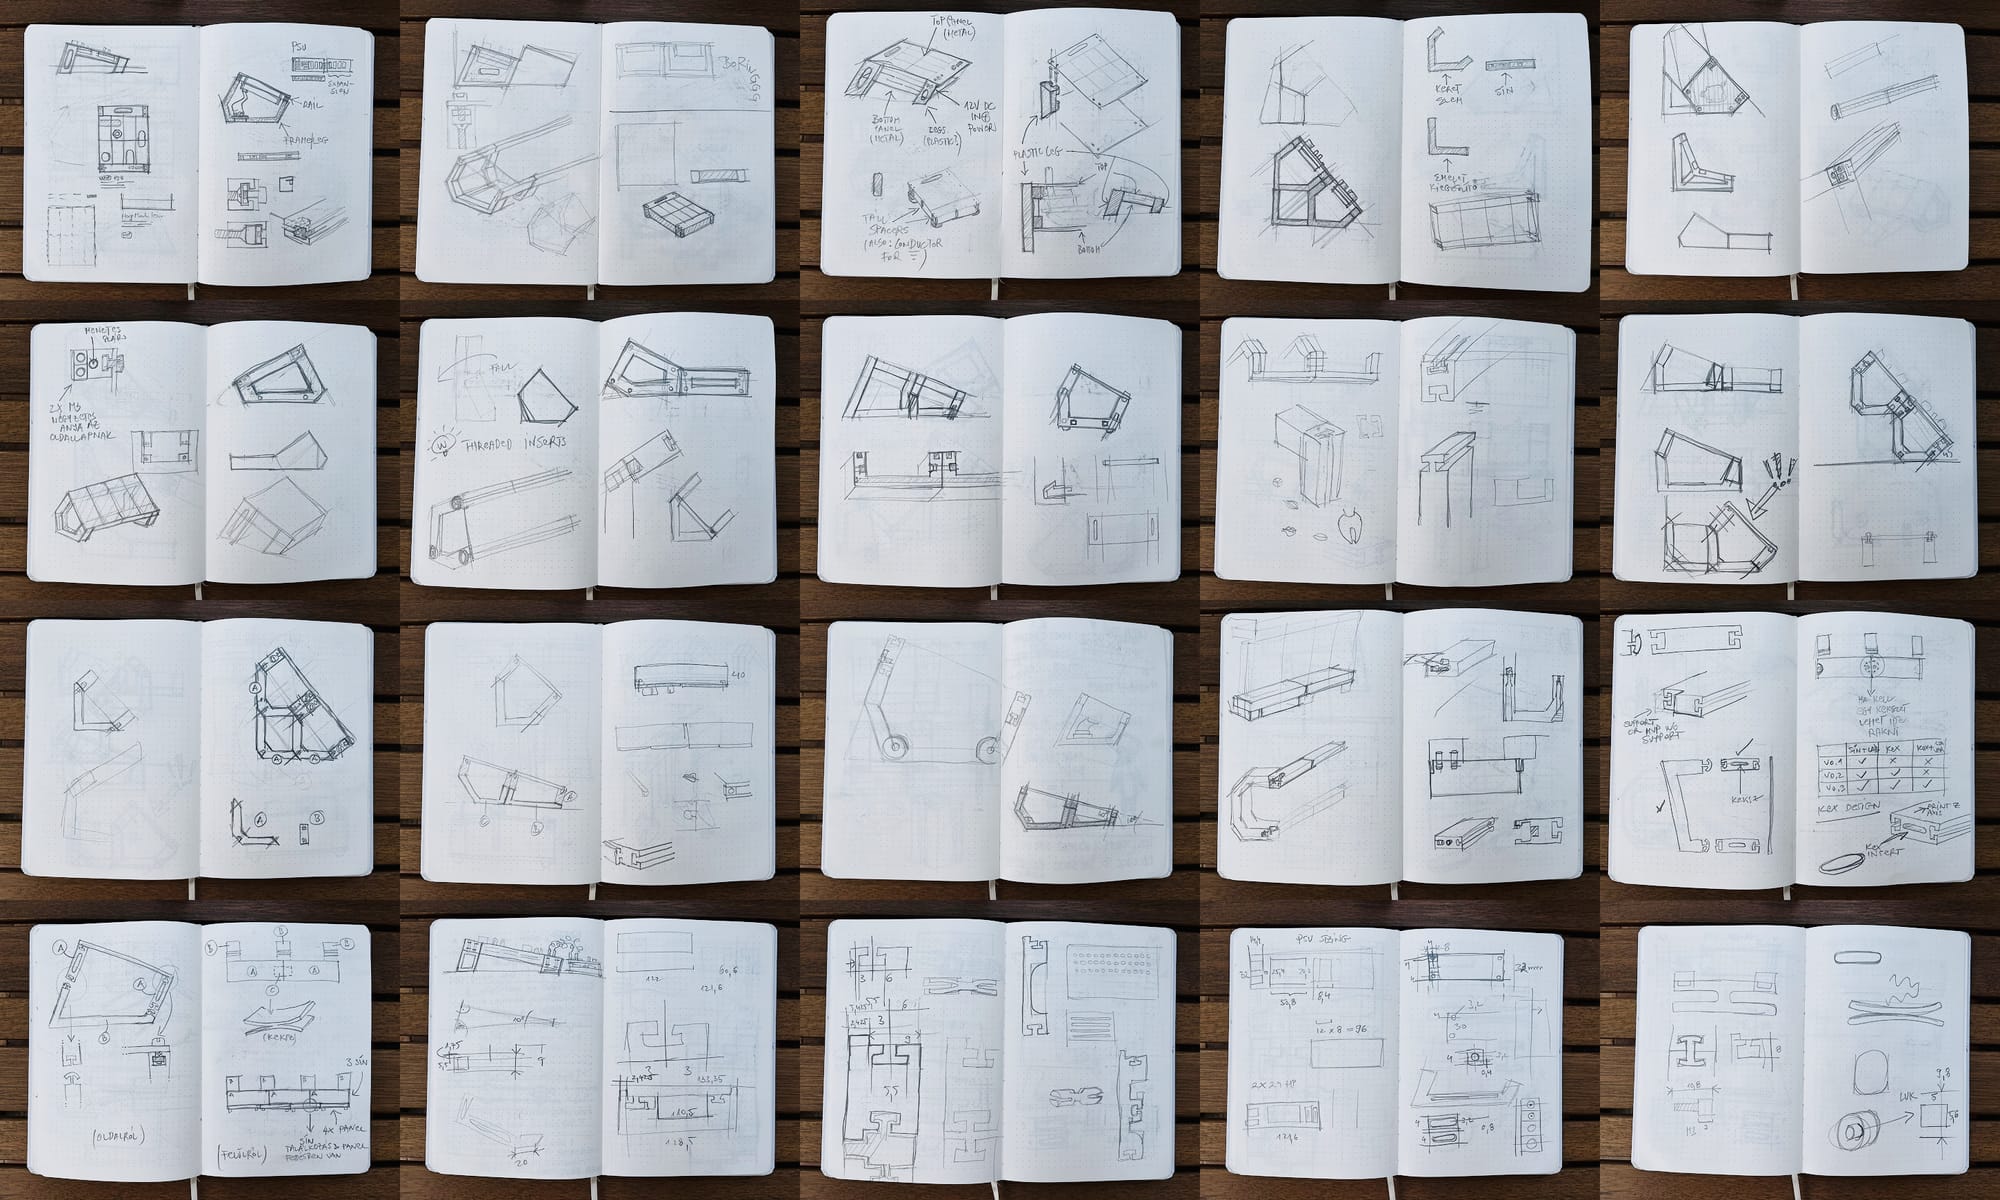
Then as usual, I started sketching a lot in my notebook. I thought I'd come up with a core design quickly but the constraints of 3D printability, extensibility and flexibility made it more challenging than I originally thought.
Concept
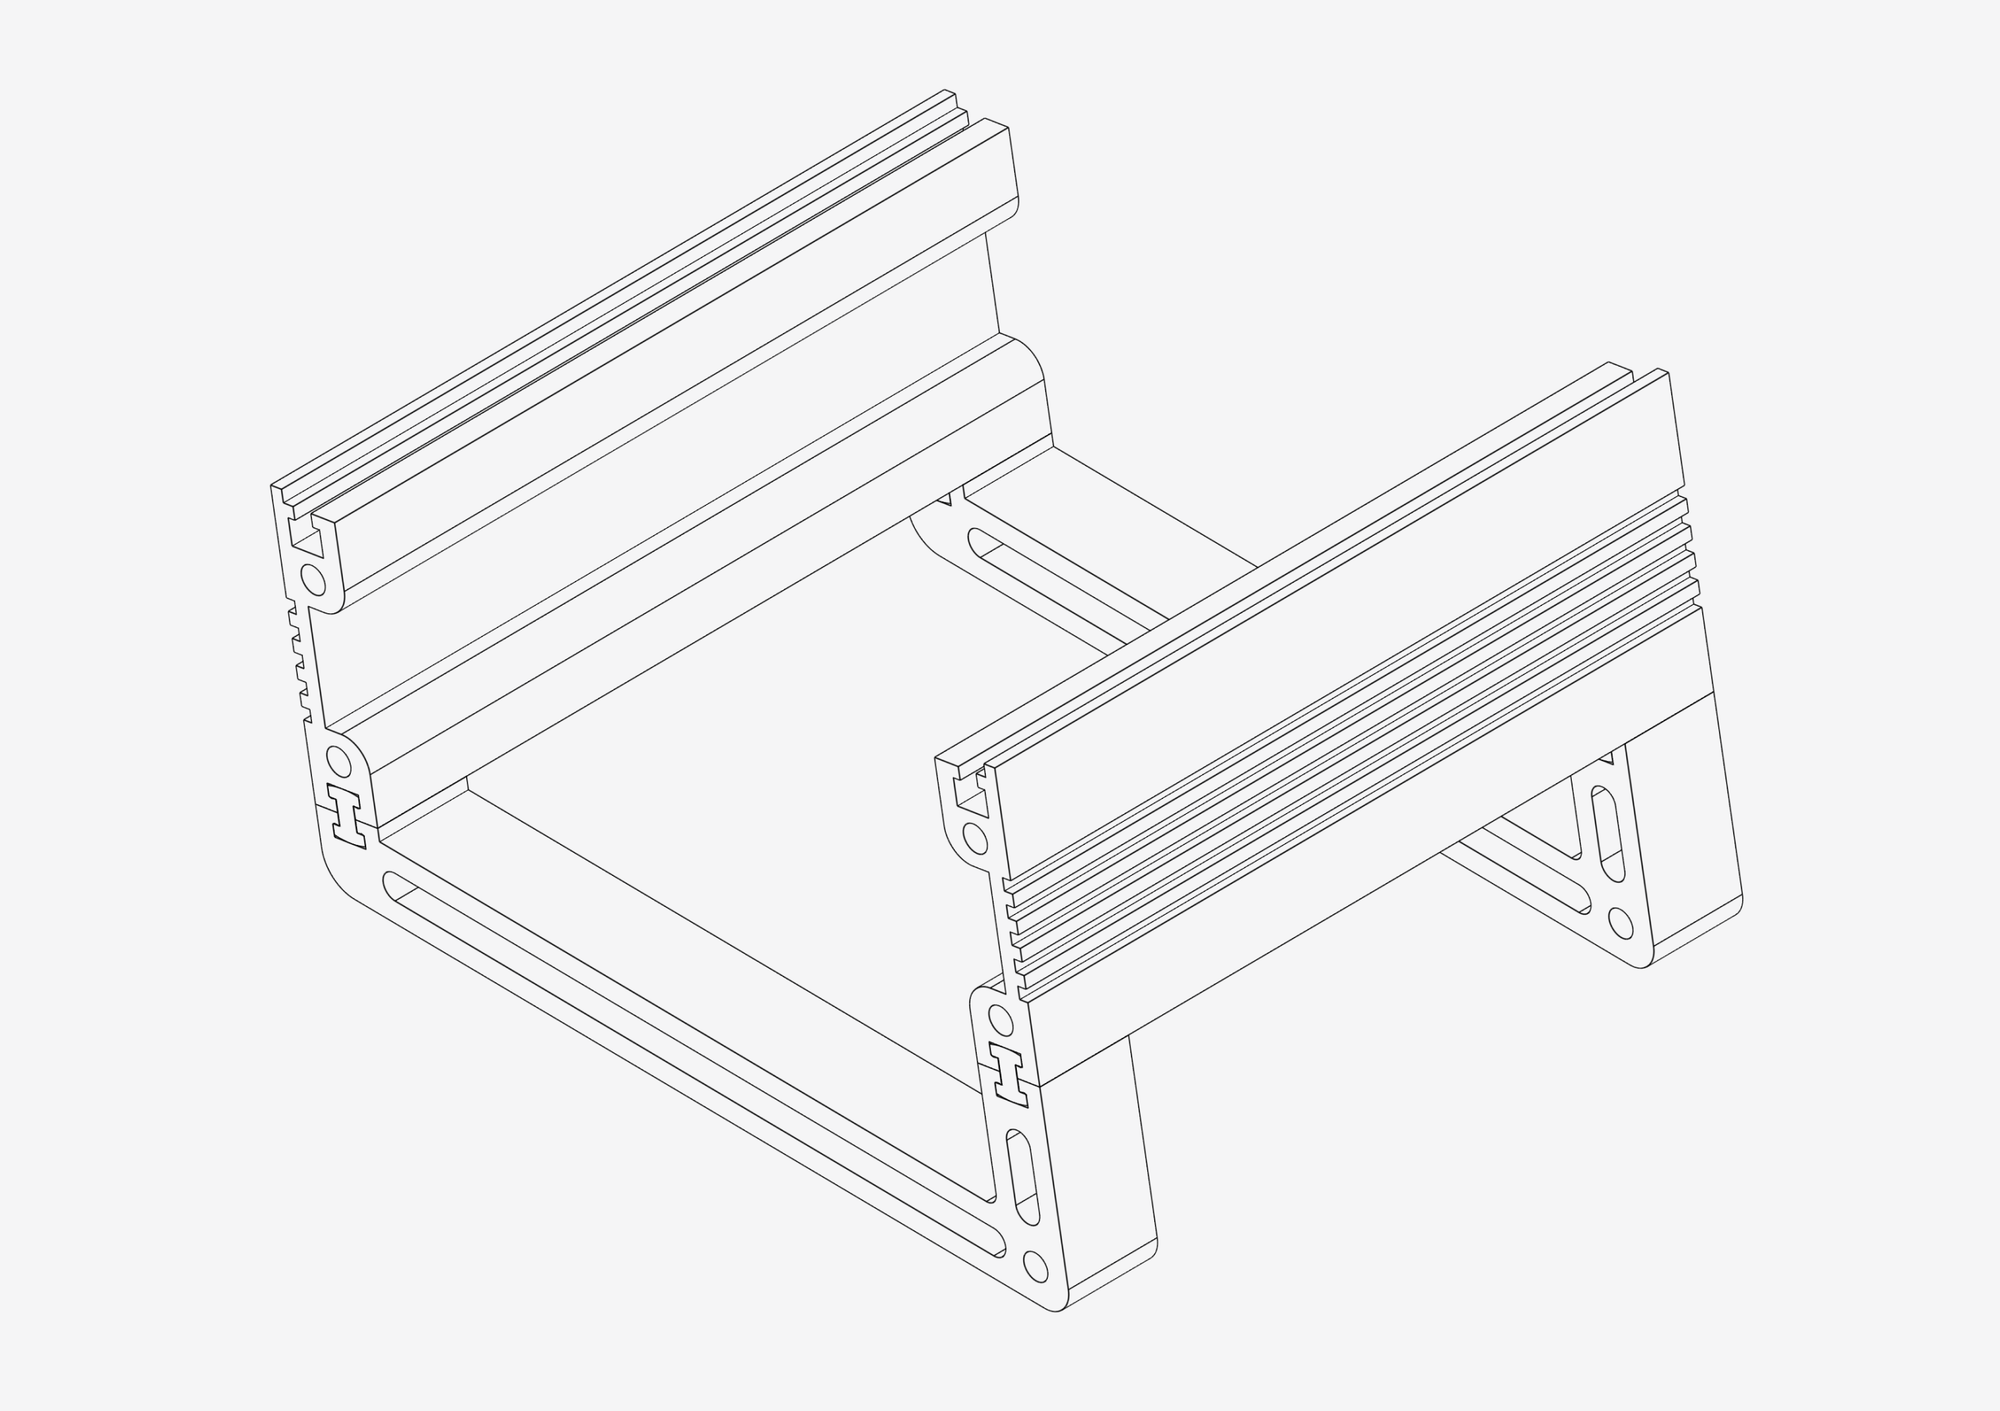
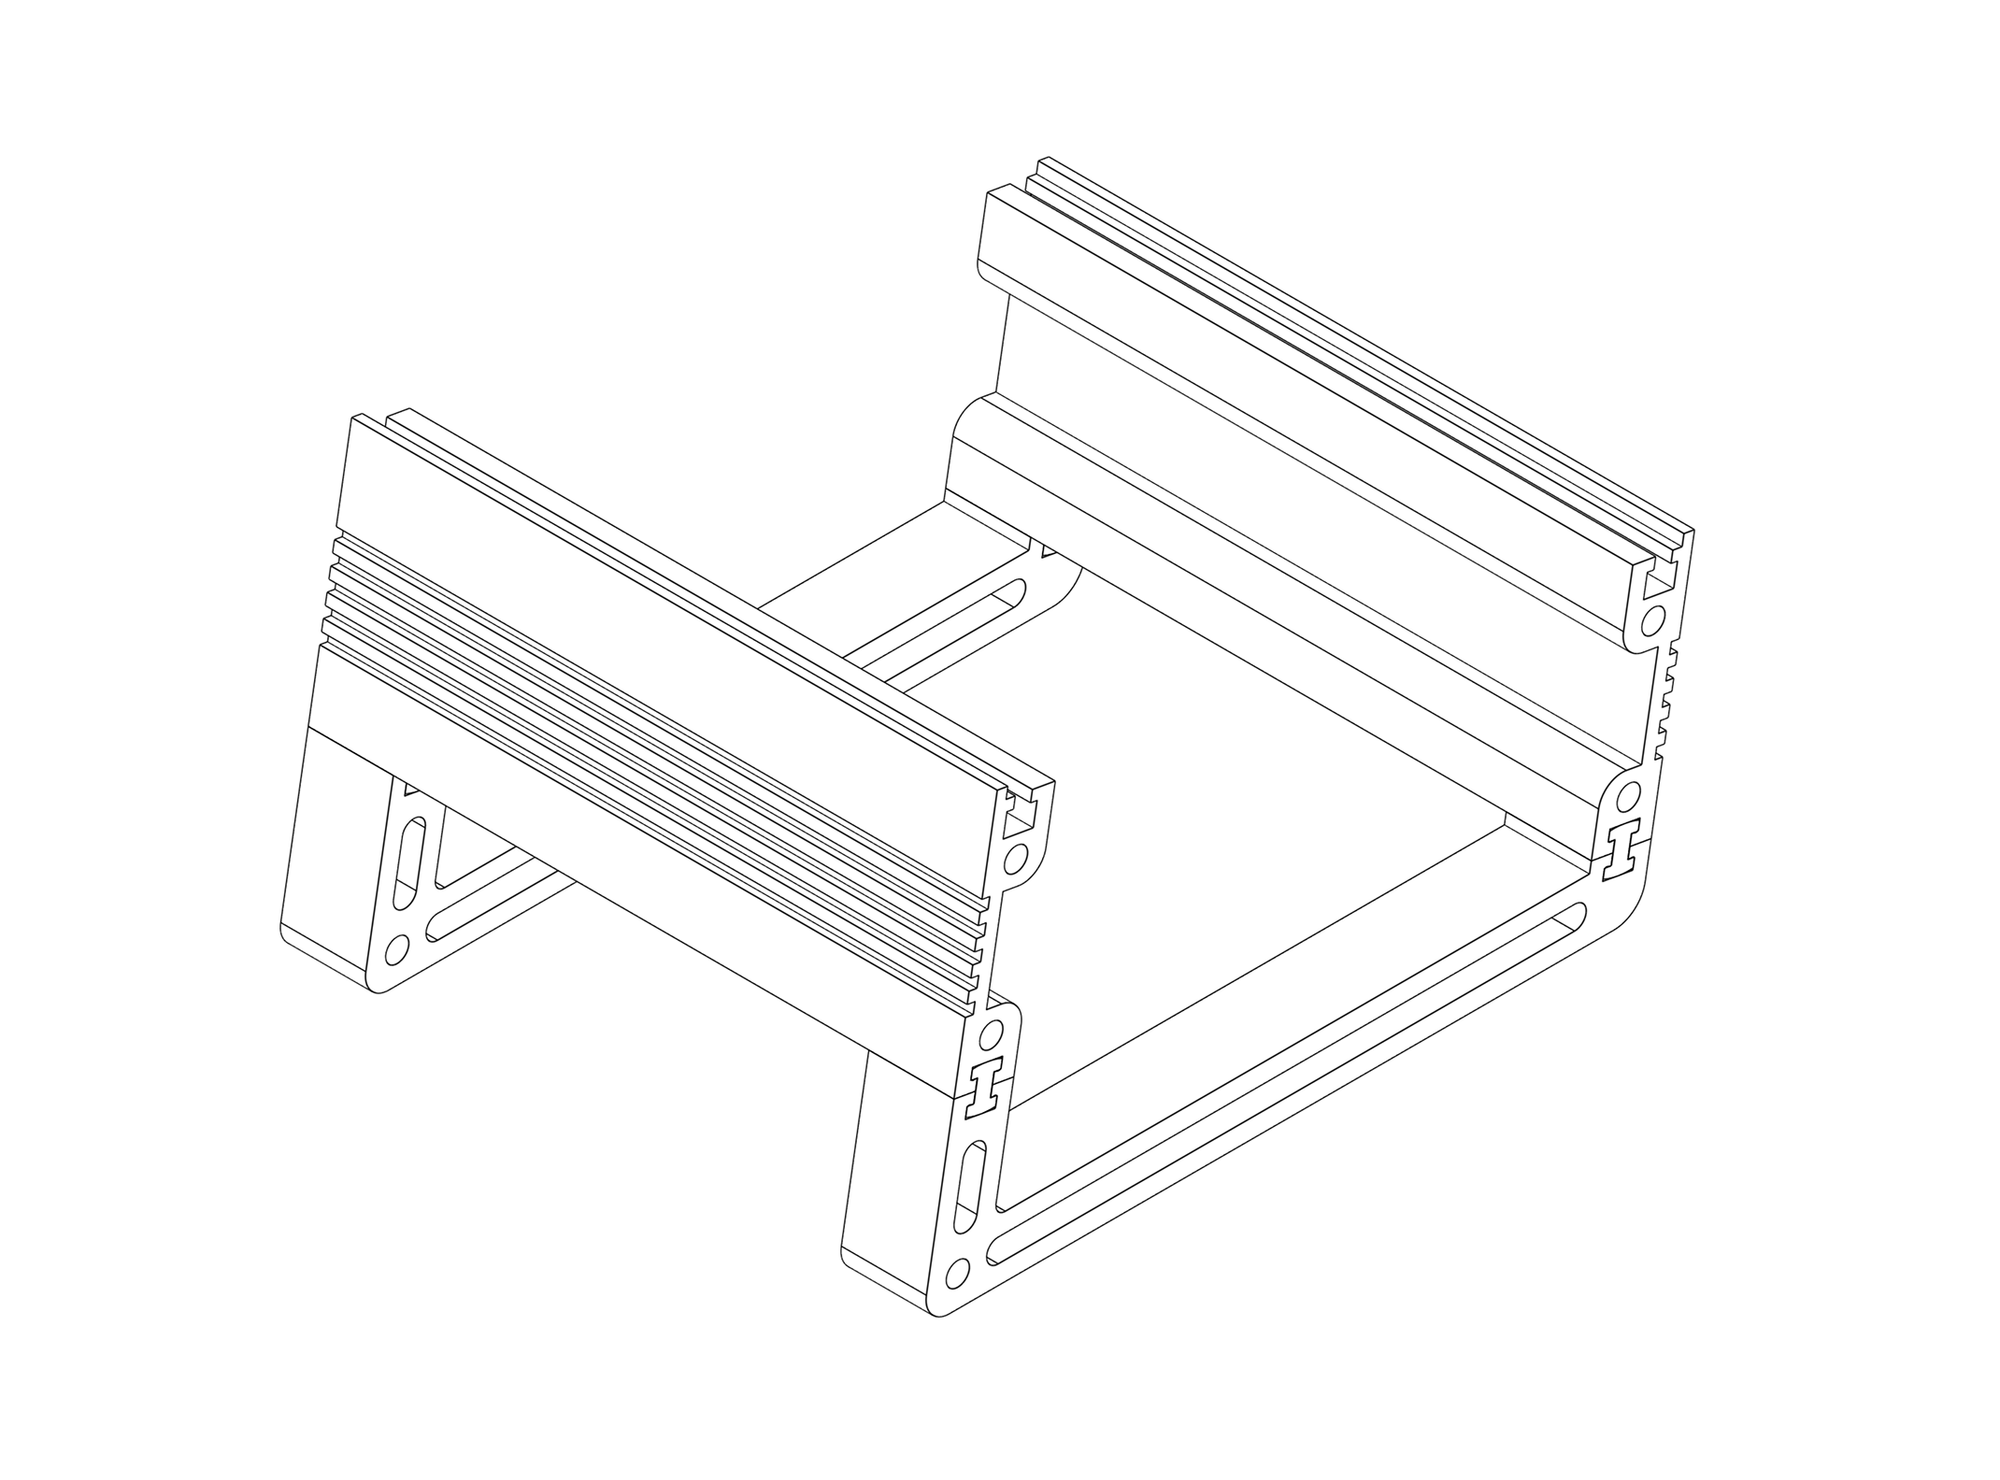
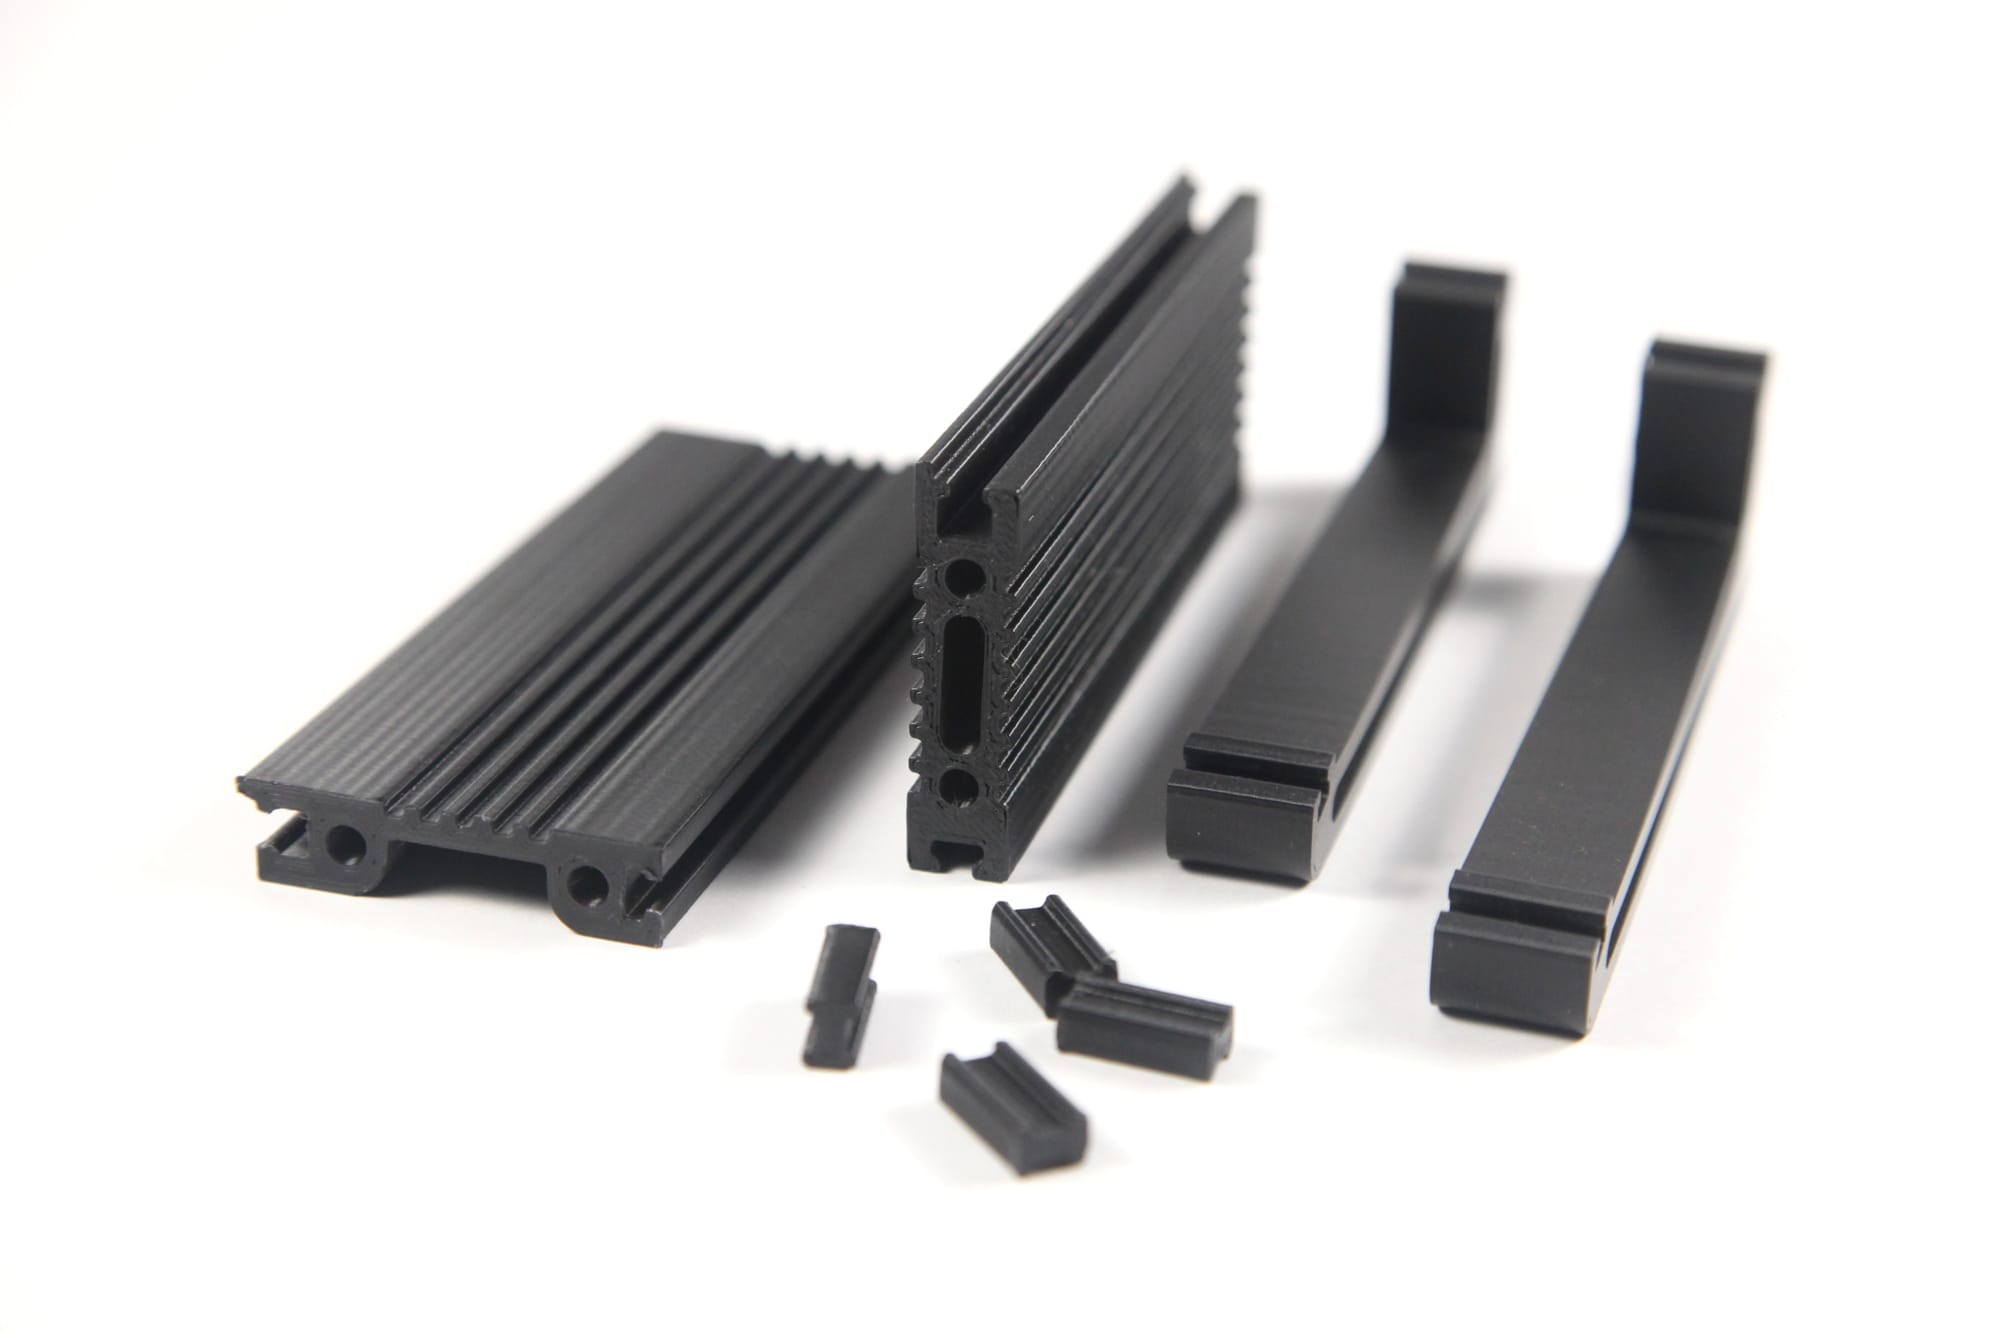
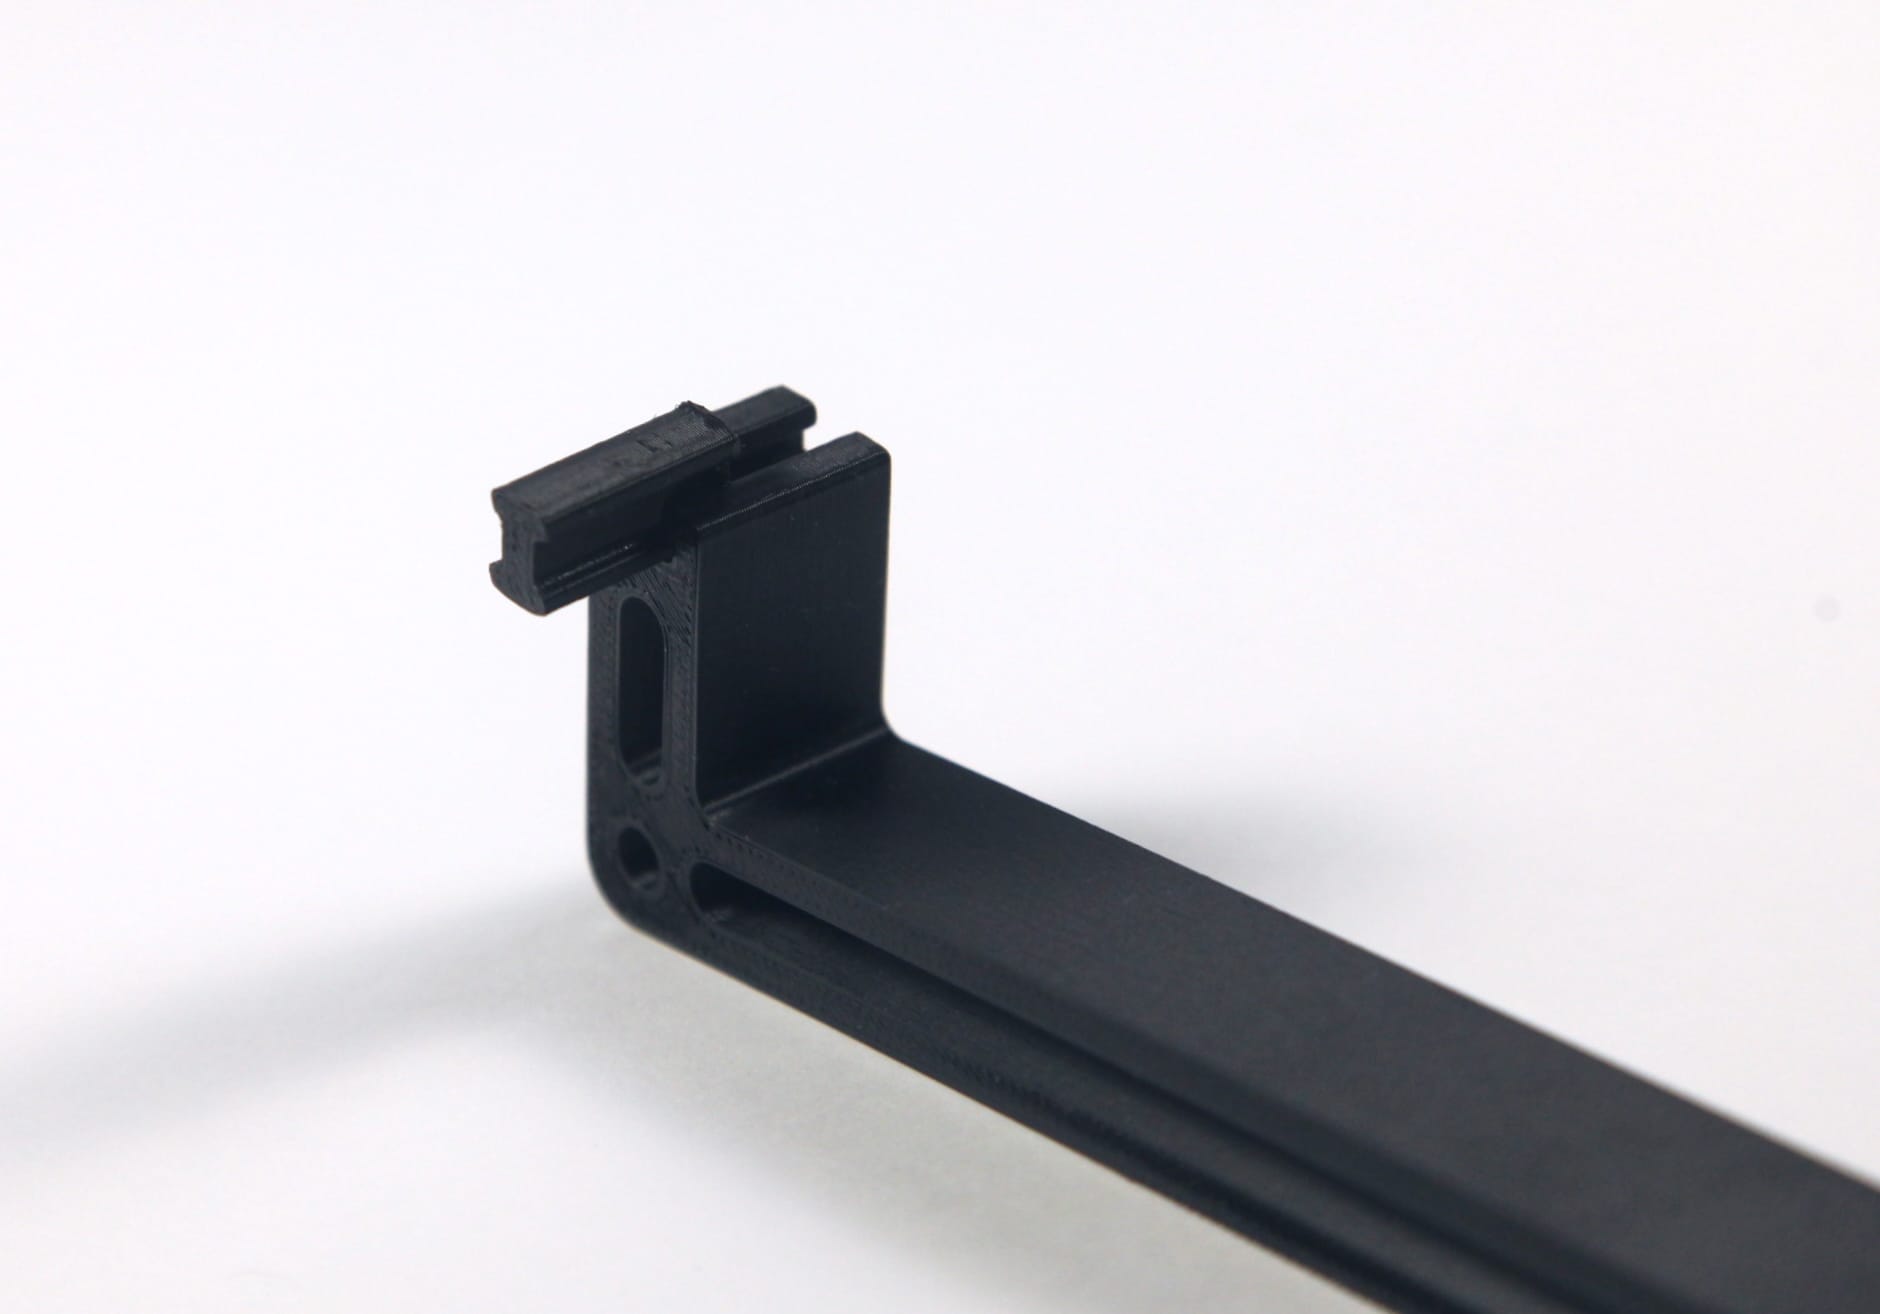
Eventually, I landed on an extensible system with three components: rails, connectors and stands.
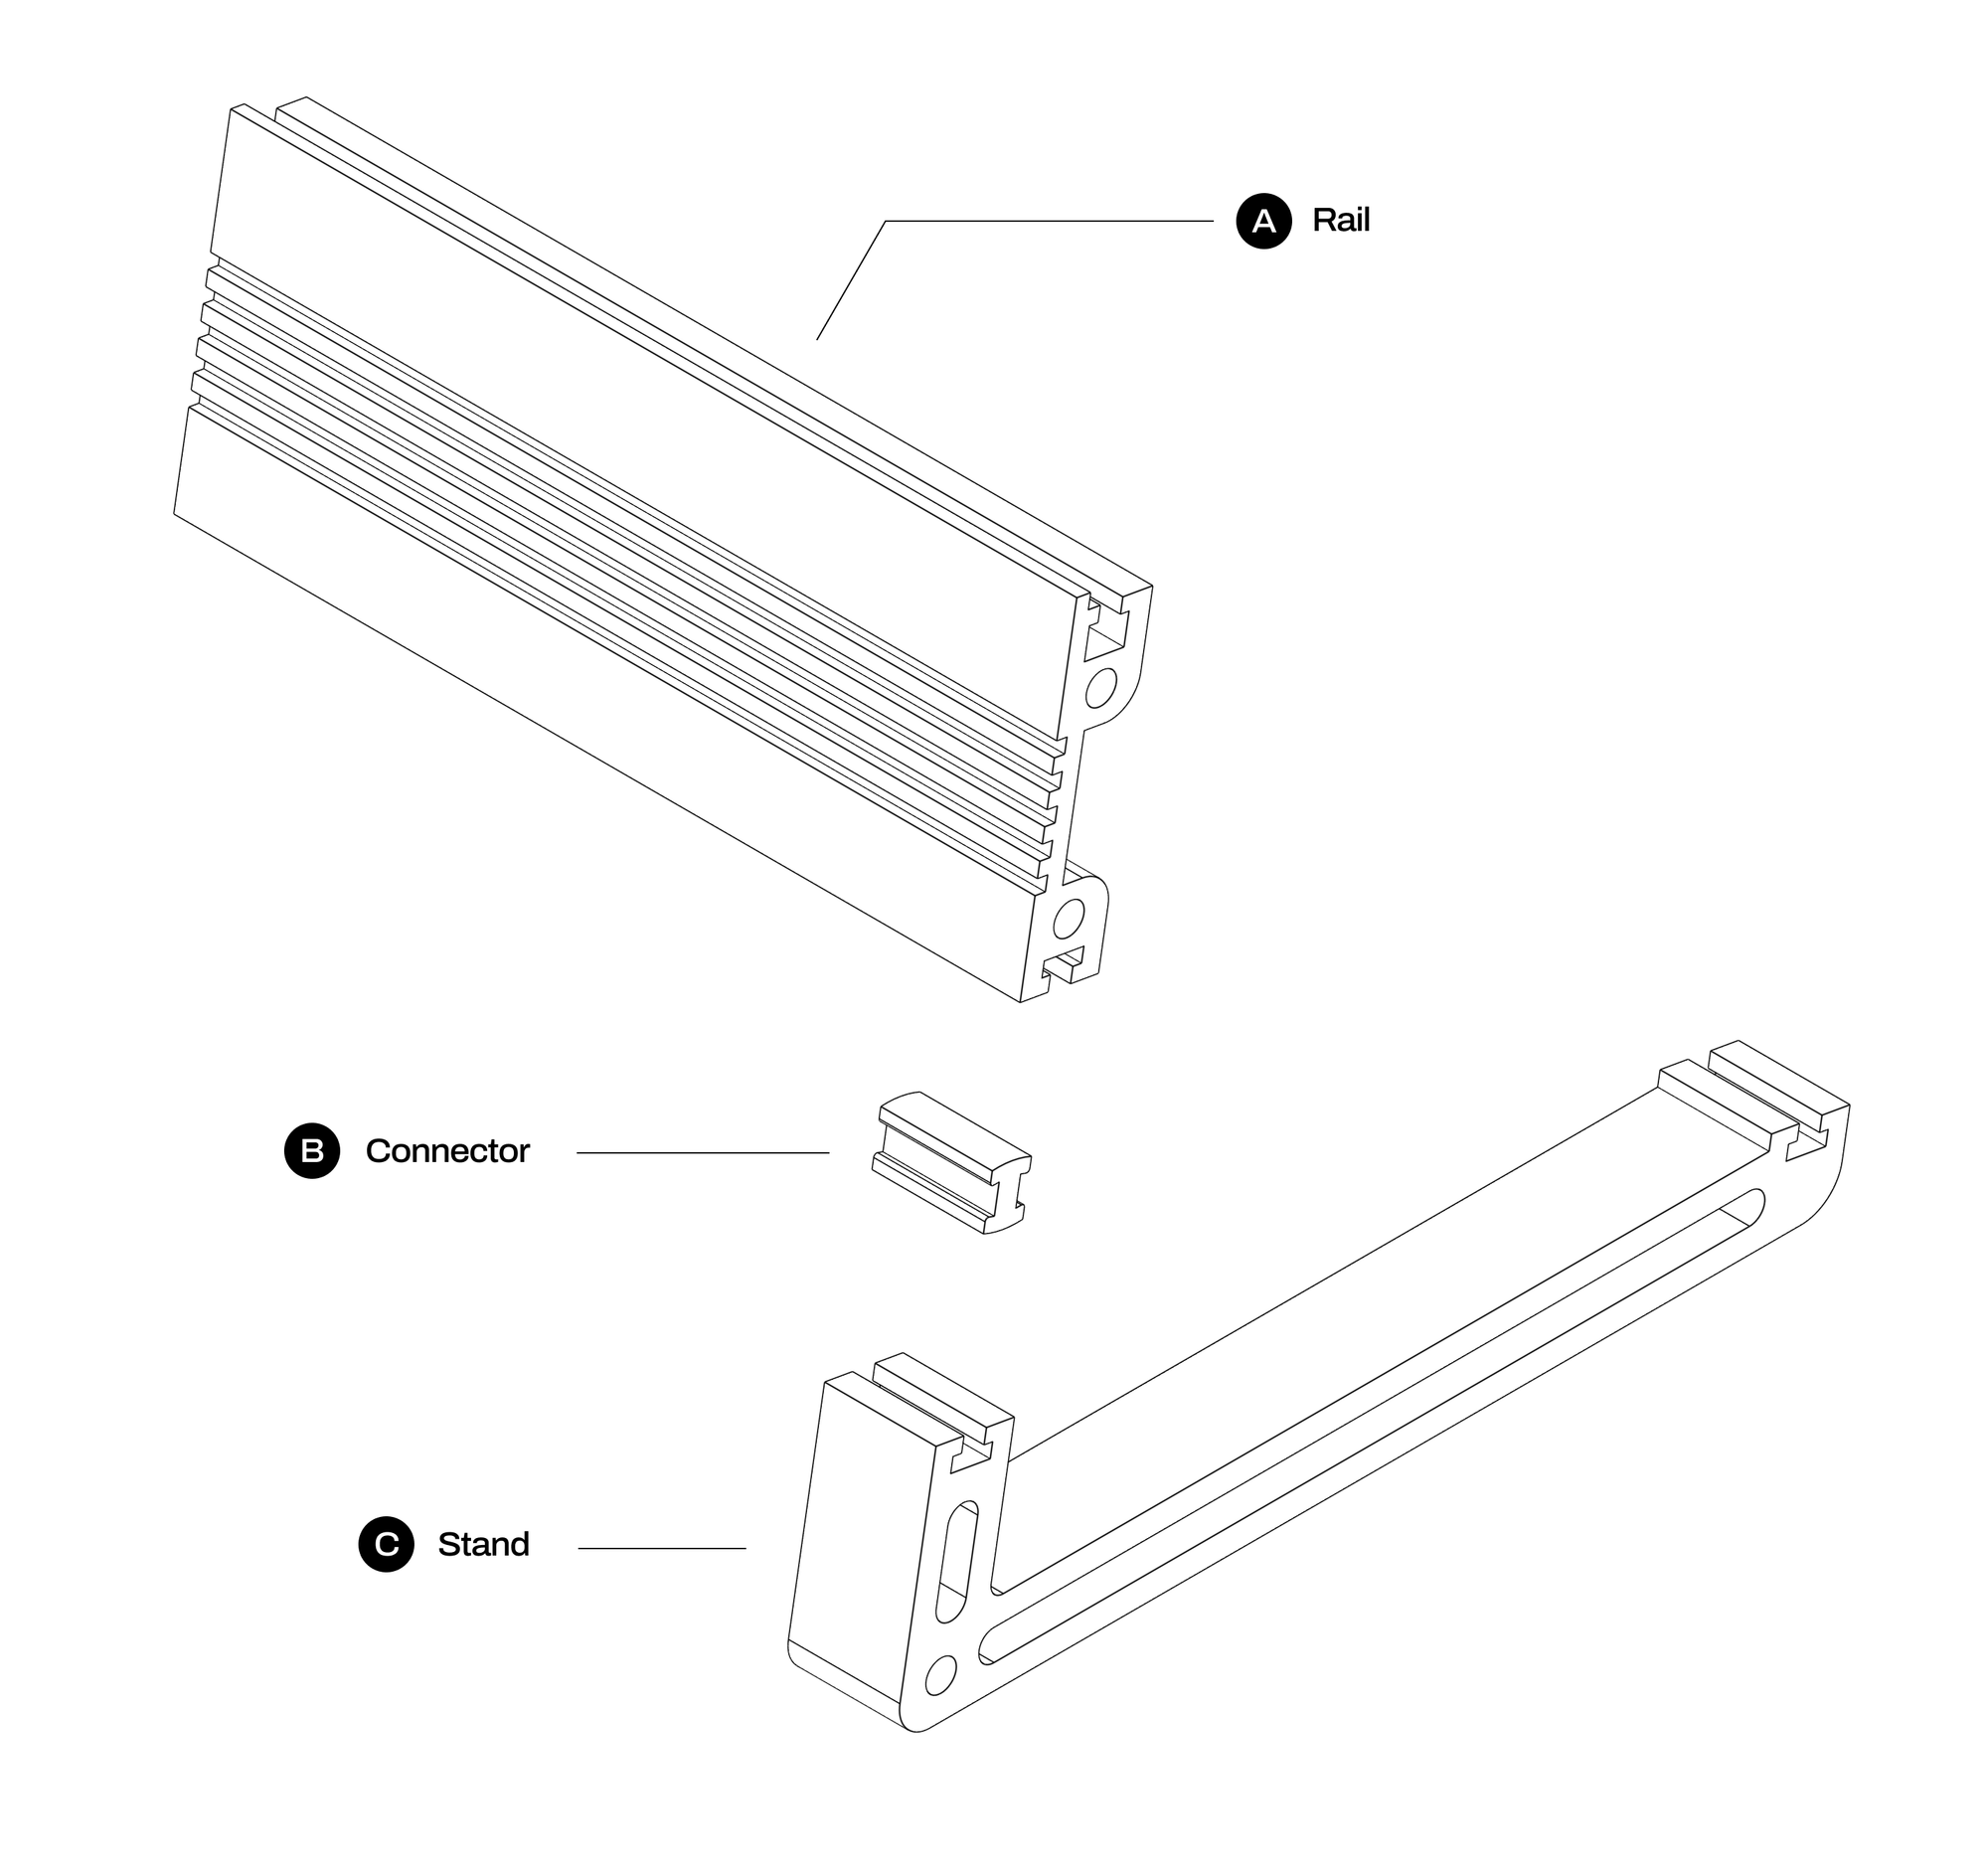
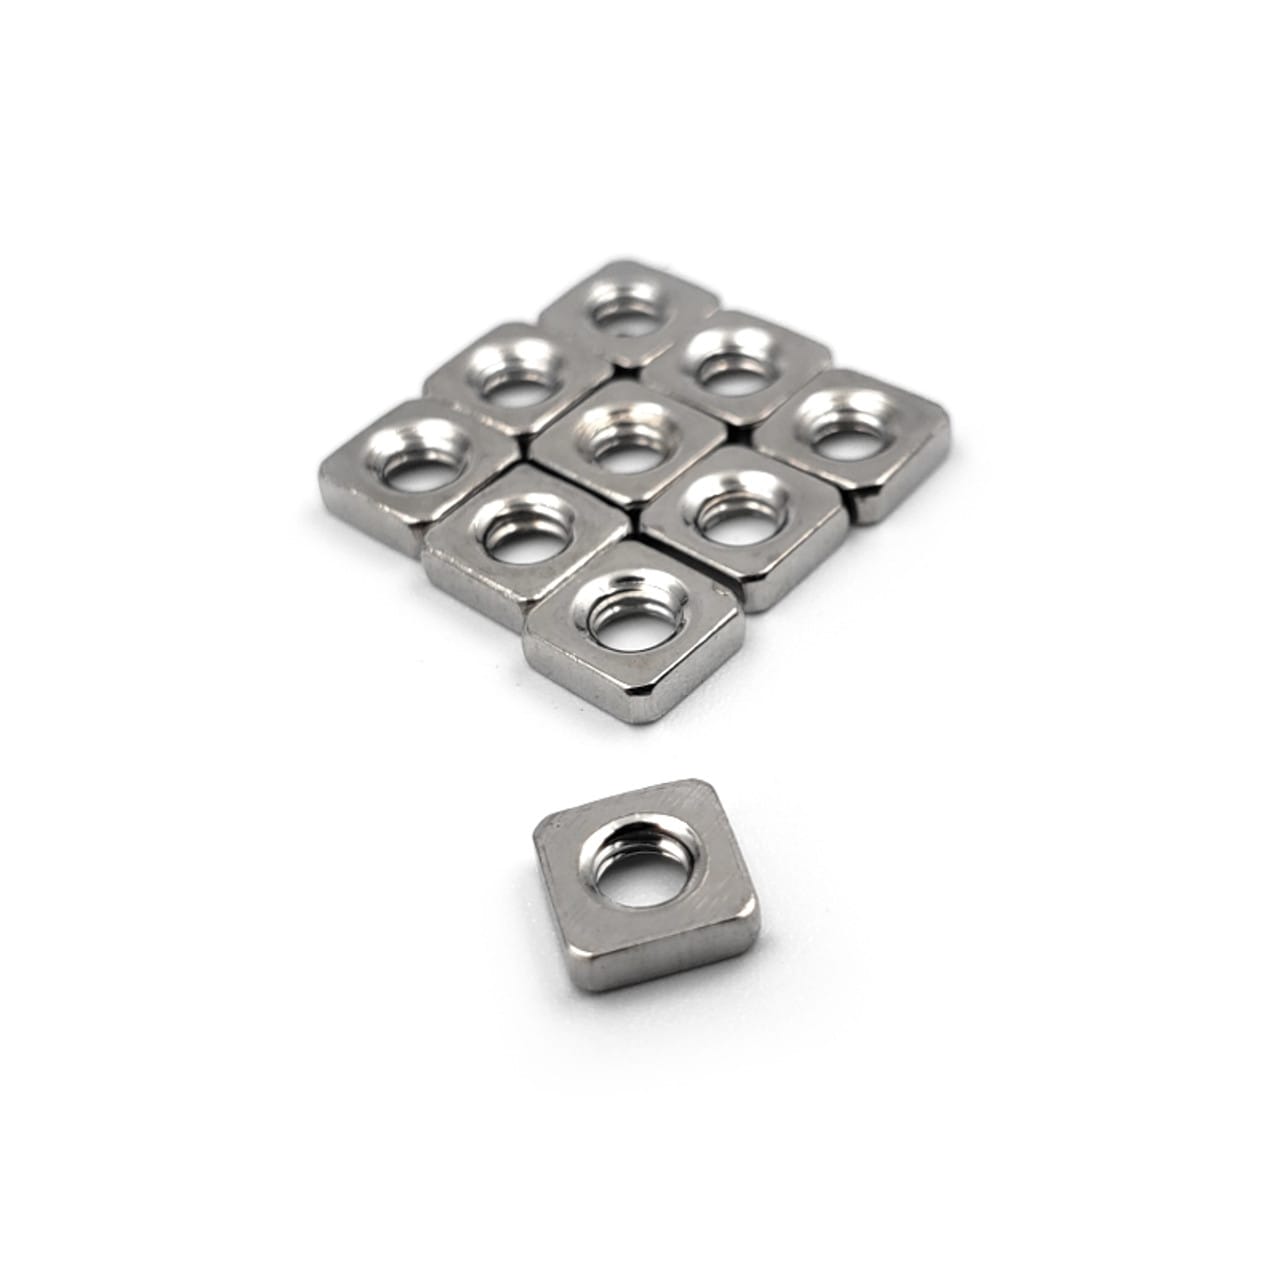
The rails are designed to be parametric, meaning that you can print it in any length just by adjusting the Y dimension in the 3D slicer software. It accepts M3 square nuts and M3x8 bolts. It is a standard way to mount Eurorack panels and these nuts and bolts are also widely used in 3D printed project so it's pretty easy to find.
The connectors have two jobs: they join the stands to the rails vertically, and they also link rails to each other horizontally. They are slightly angled to provide tension between the connected parts.
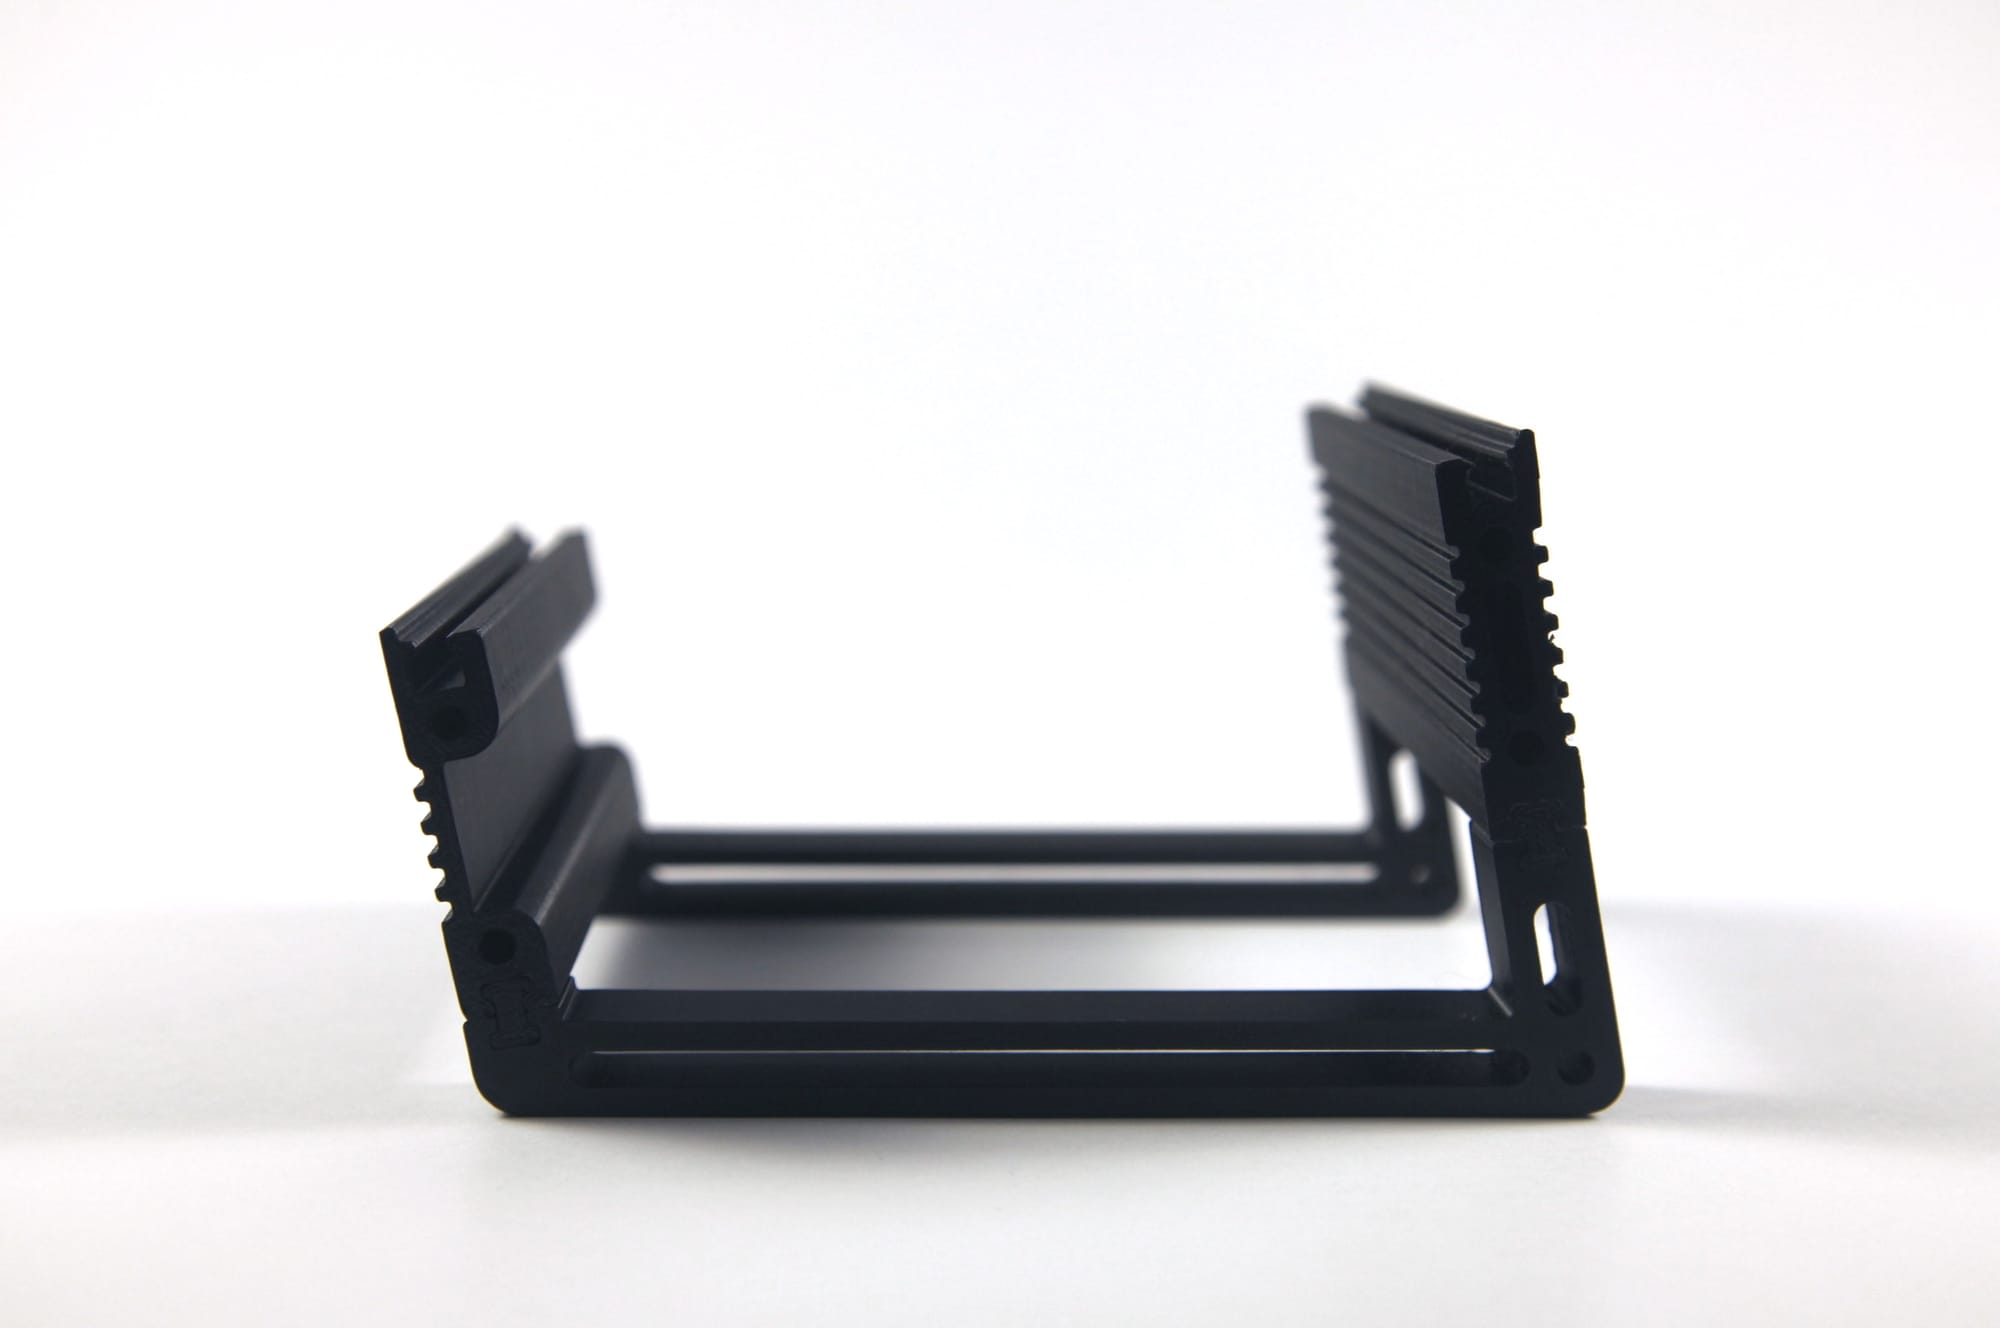
The stands are slanted at a 10° angle. Since they are not permanently coupled with the rails, it's easy to design and swap in other stand styles (e.g. flat) if needed.
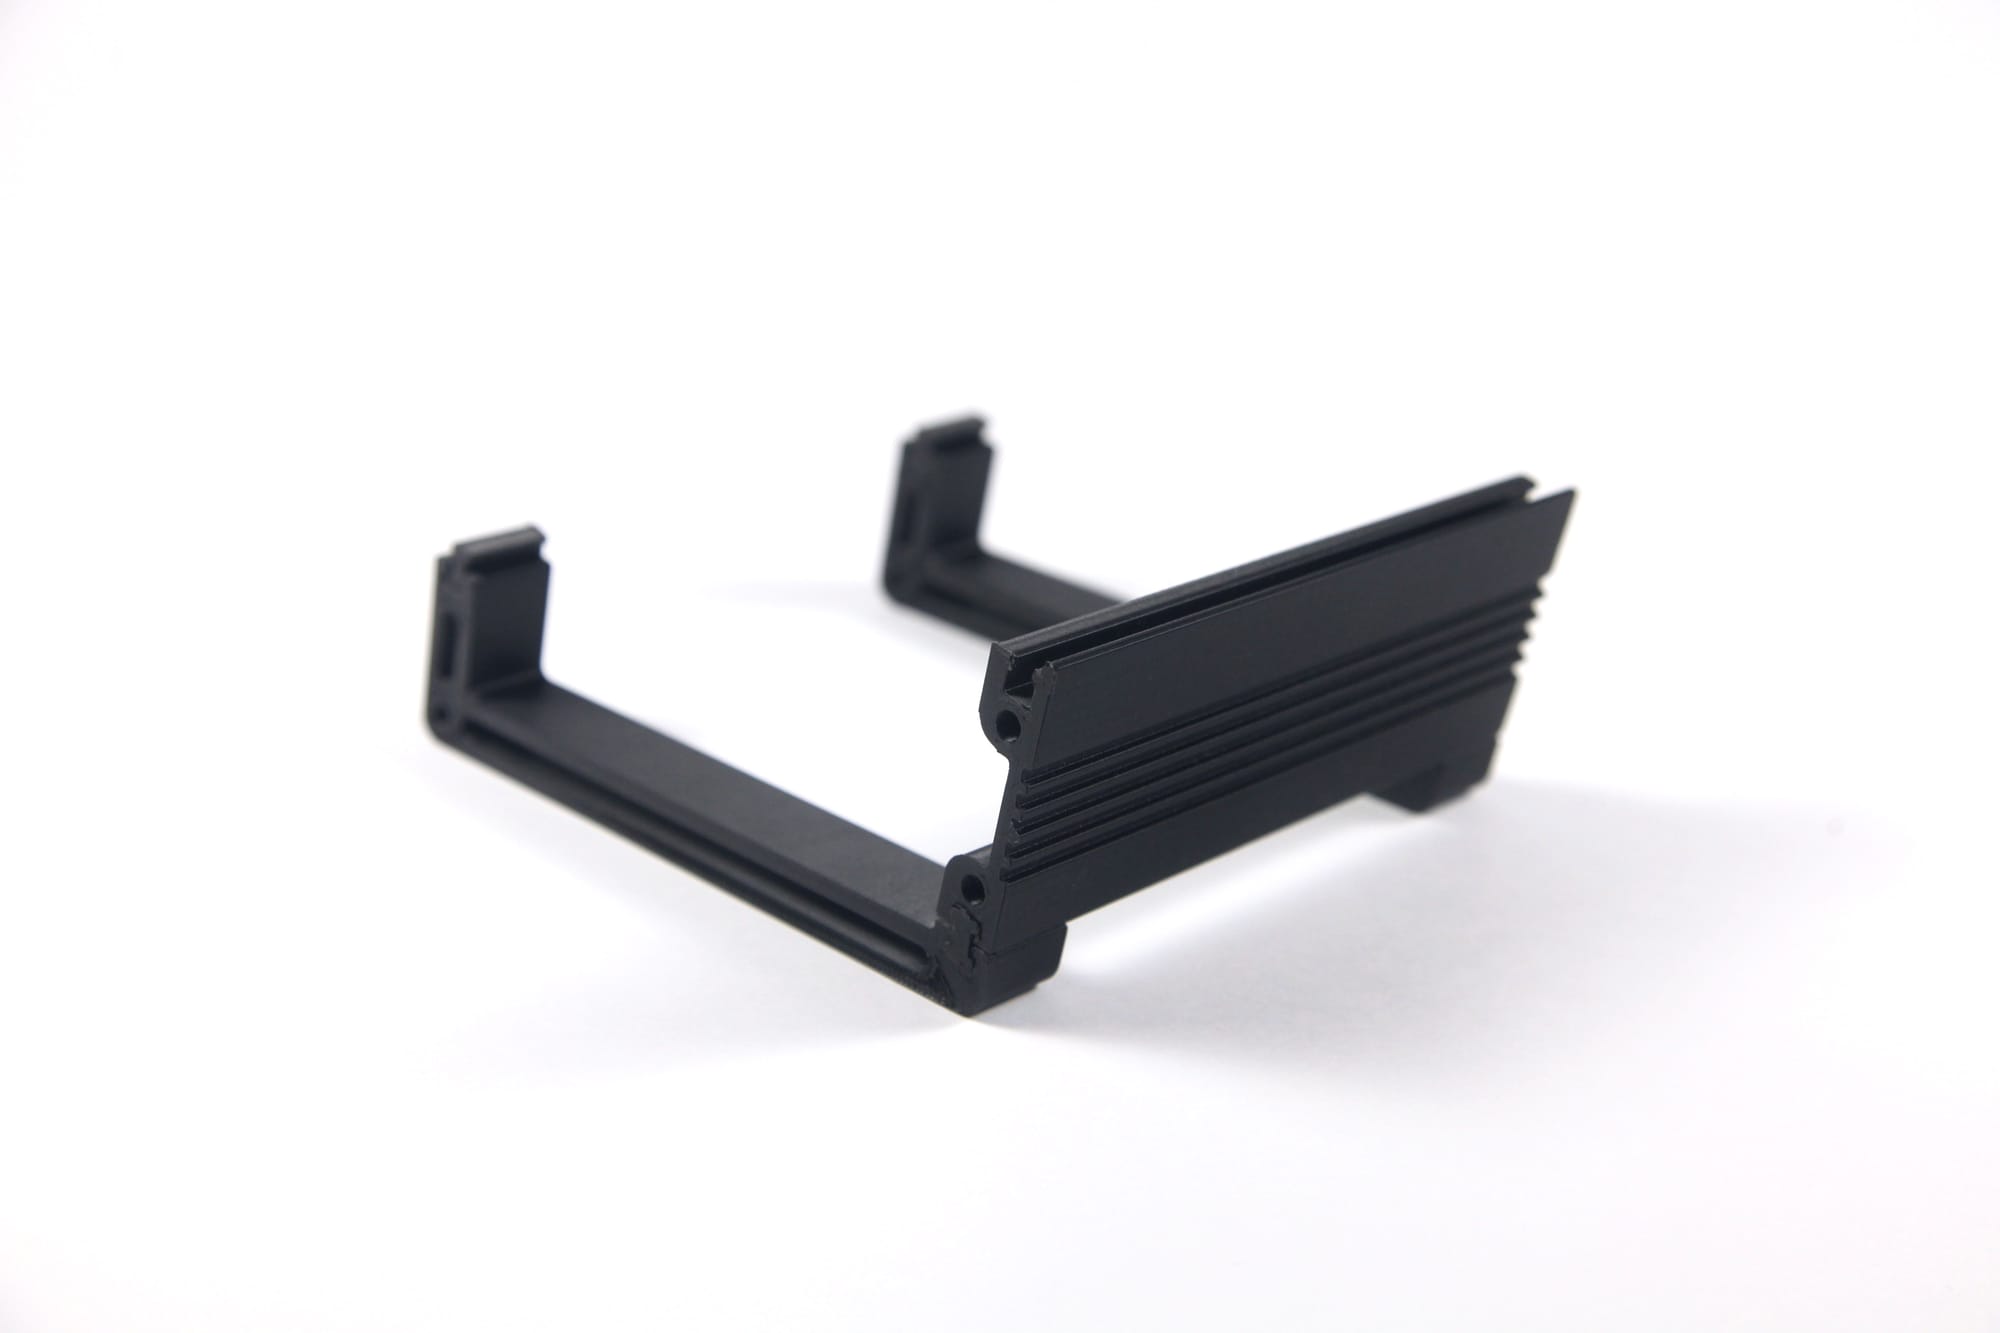
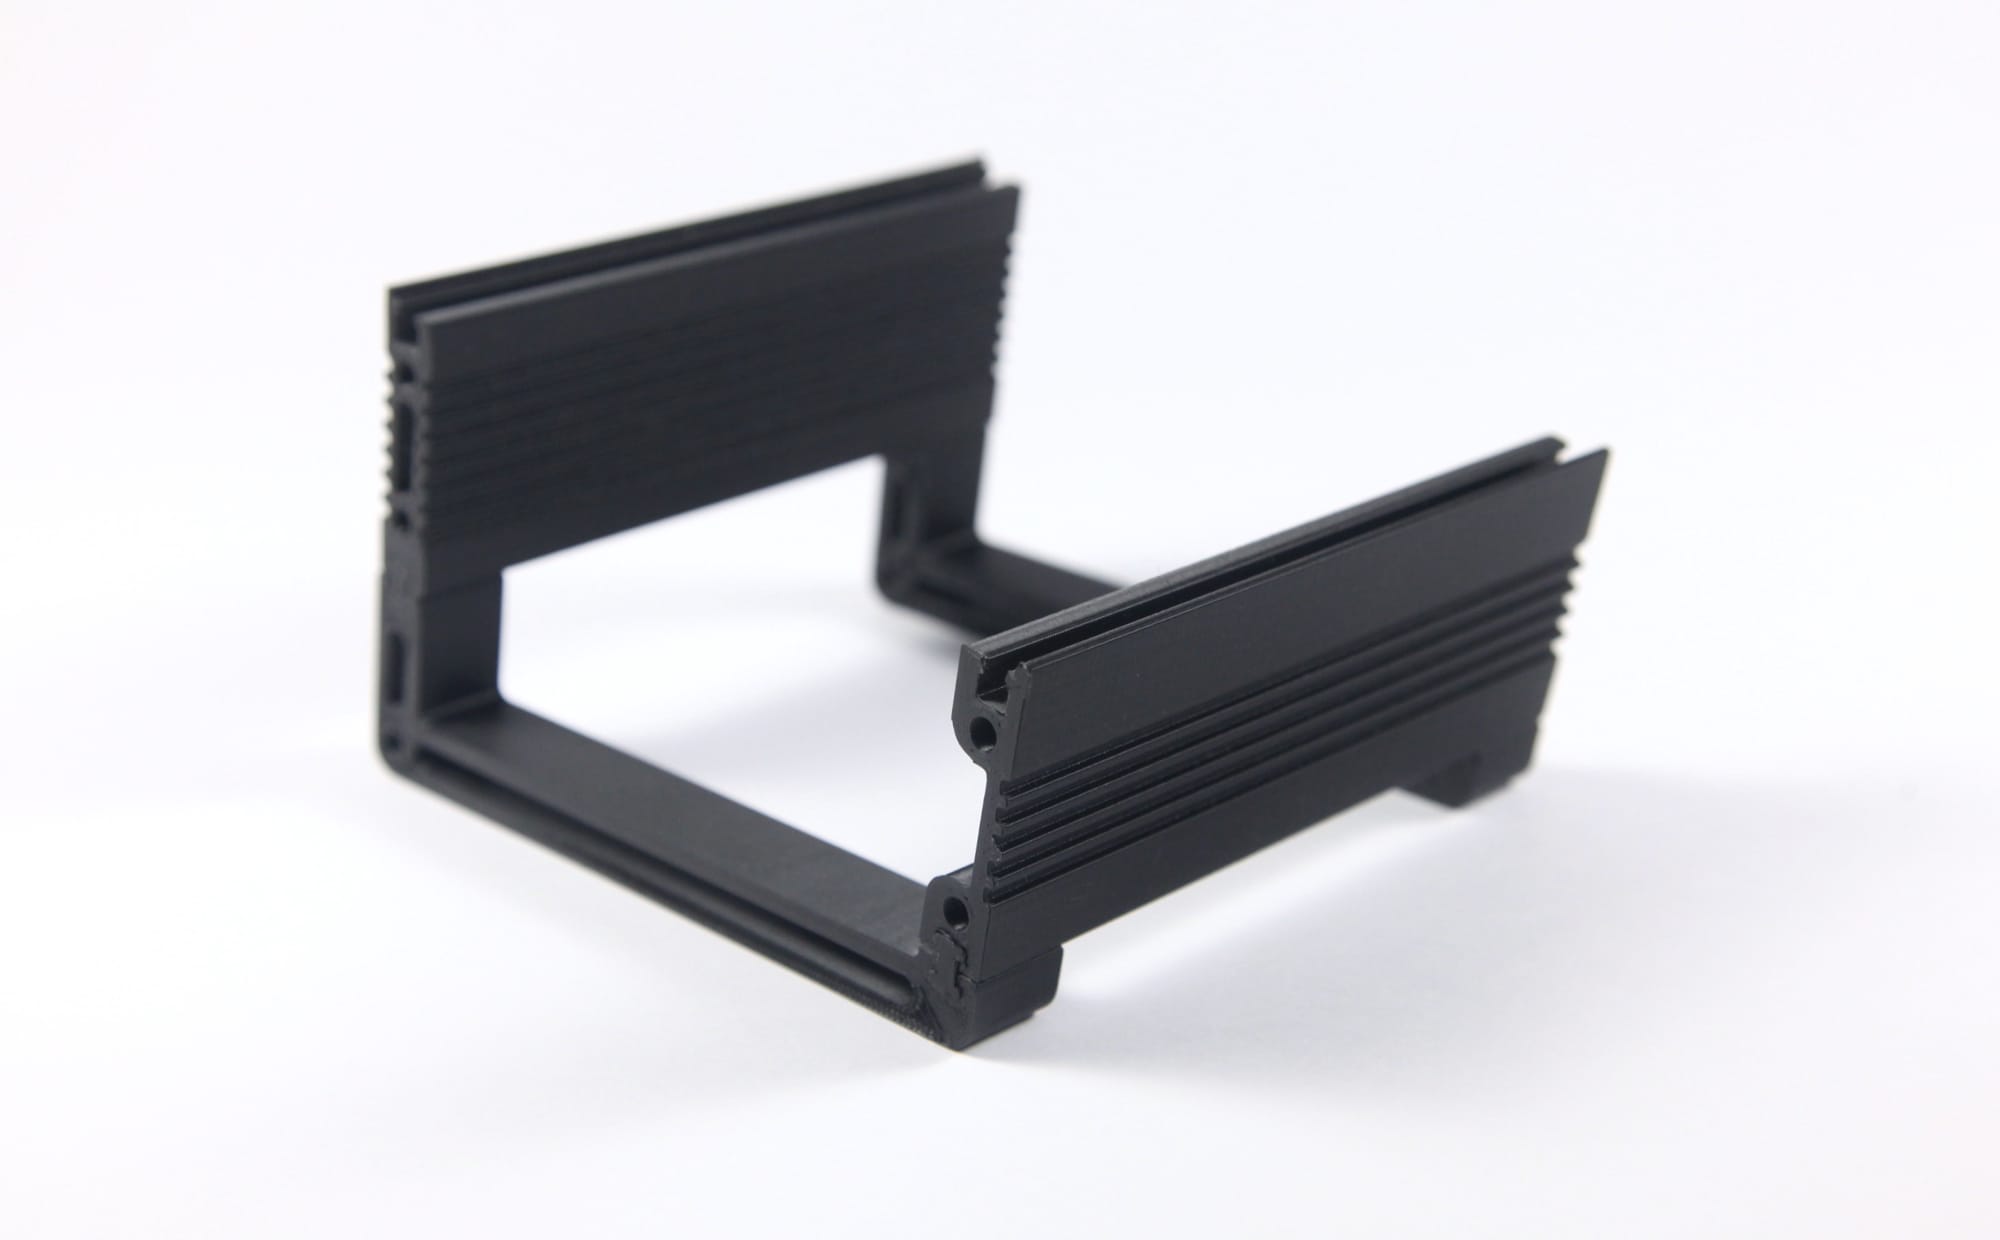
To assemble the frame you just need to slide the connectors, the rails and stands together, no extra screws or hardware needed.

I also added a couple of M4 holes to the stands and rails so we can bolt multiple frames together, or attach other stuff to it if needed in the future.
The default width of the rails is 24HP but again, it can be set directly in the slicer. Once we need more space it'll be very easy to extend the system to 48HP and further, just by offsetting the connectors and attaching new rails and stands.
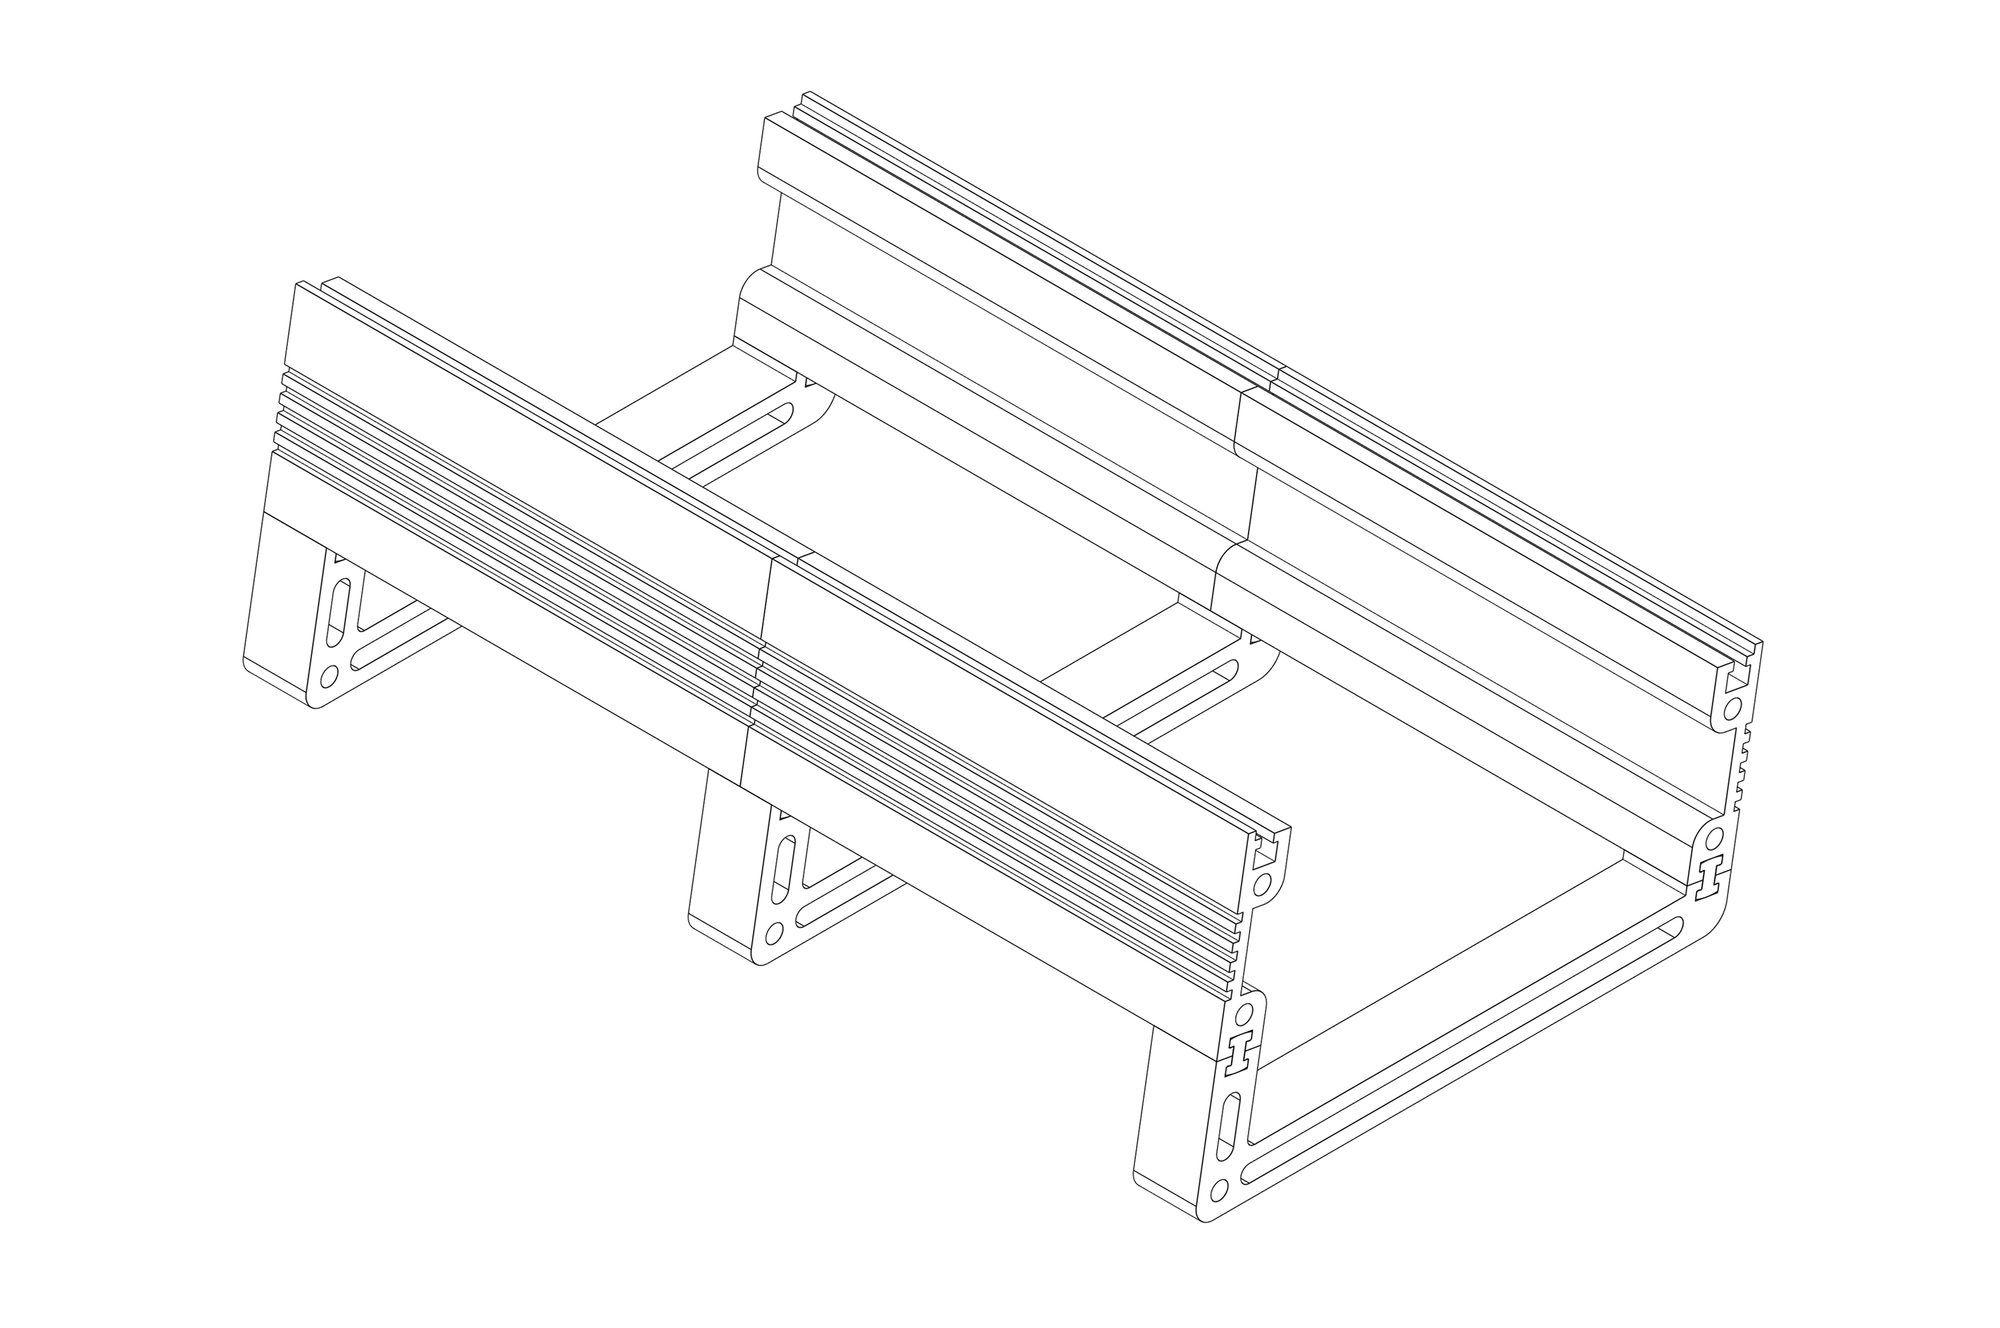
The default 24HP, and an extended 48HP version
First tests
We didn't really have to create that many prototypes, actually the first prints came out just fine. For now we only printed two stands, two rails and four connectors — this can house 24HP worth of modules which is enough to get started.

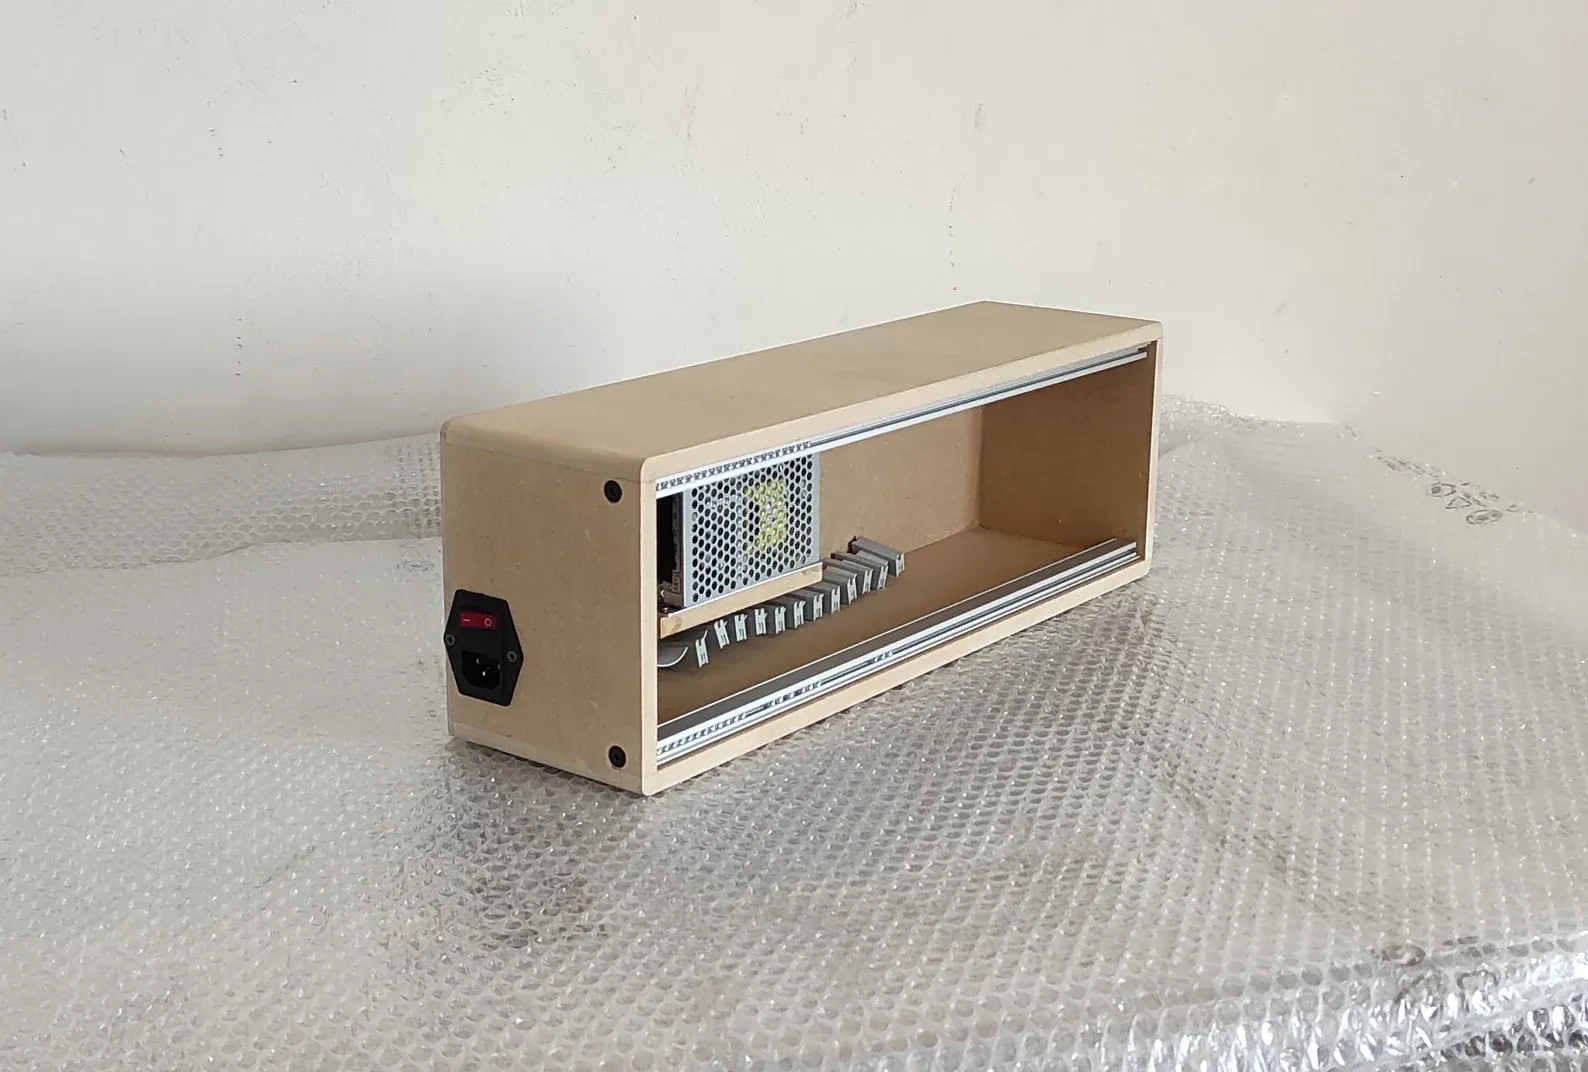
To test if the rails work with future modules we tried Flame's new laser-cutter and made a couple of panels in Eurorack size. What you see on the pictures are mocks without electronics or PCBs.
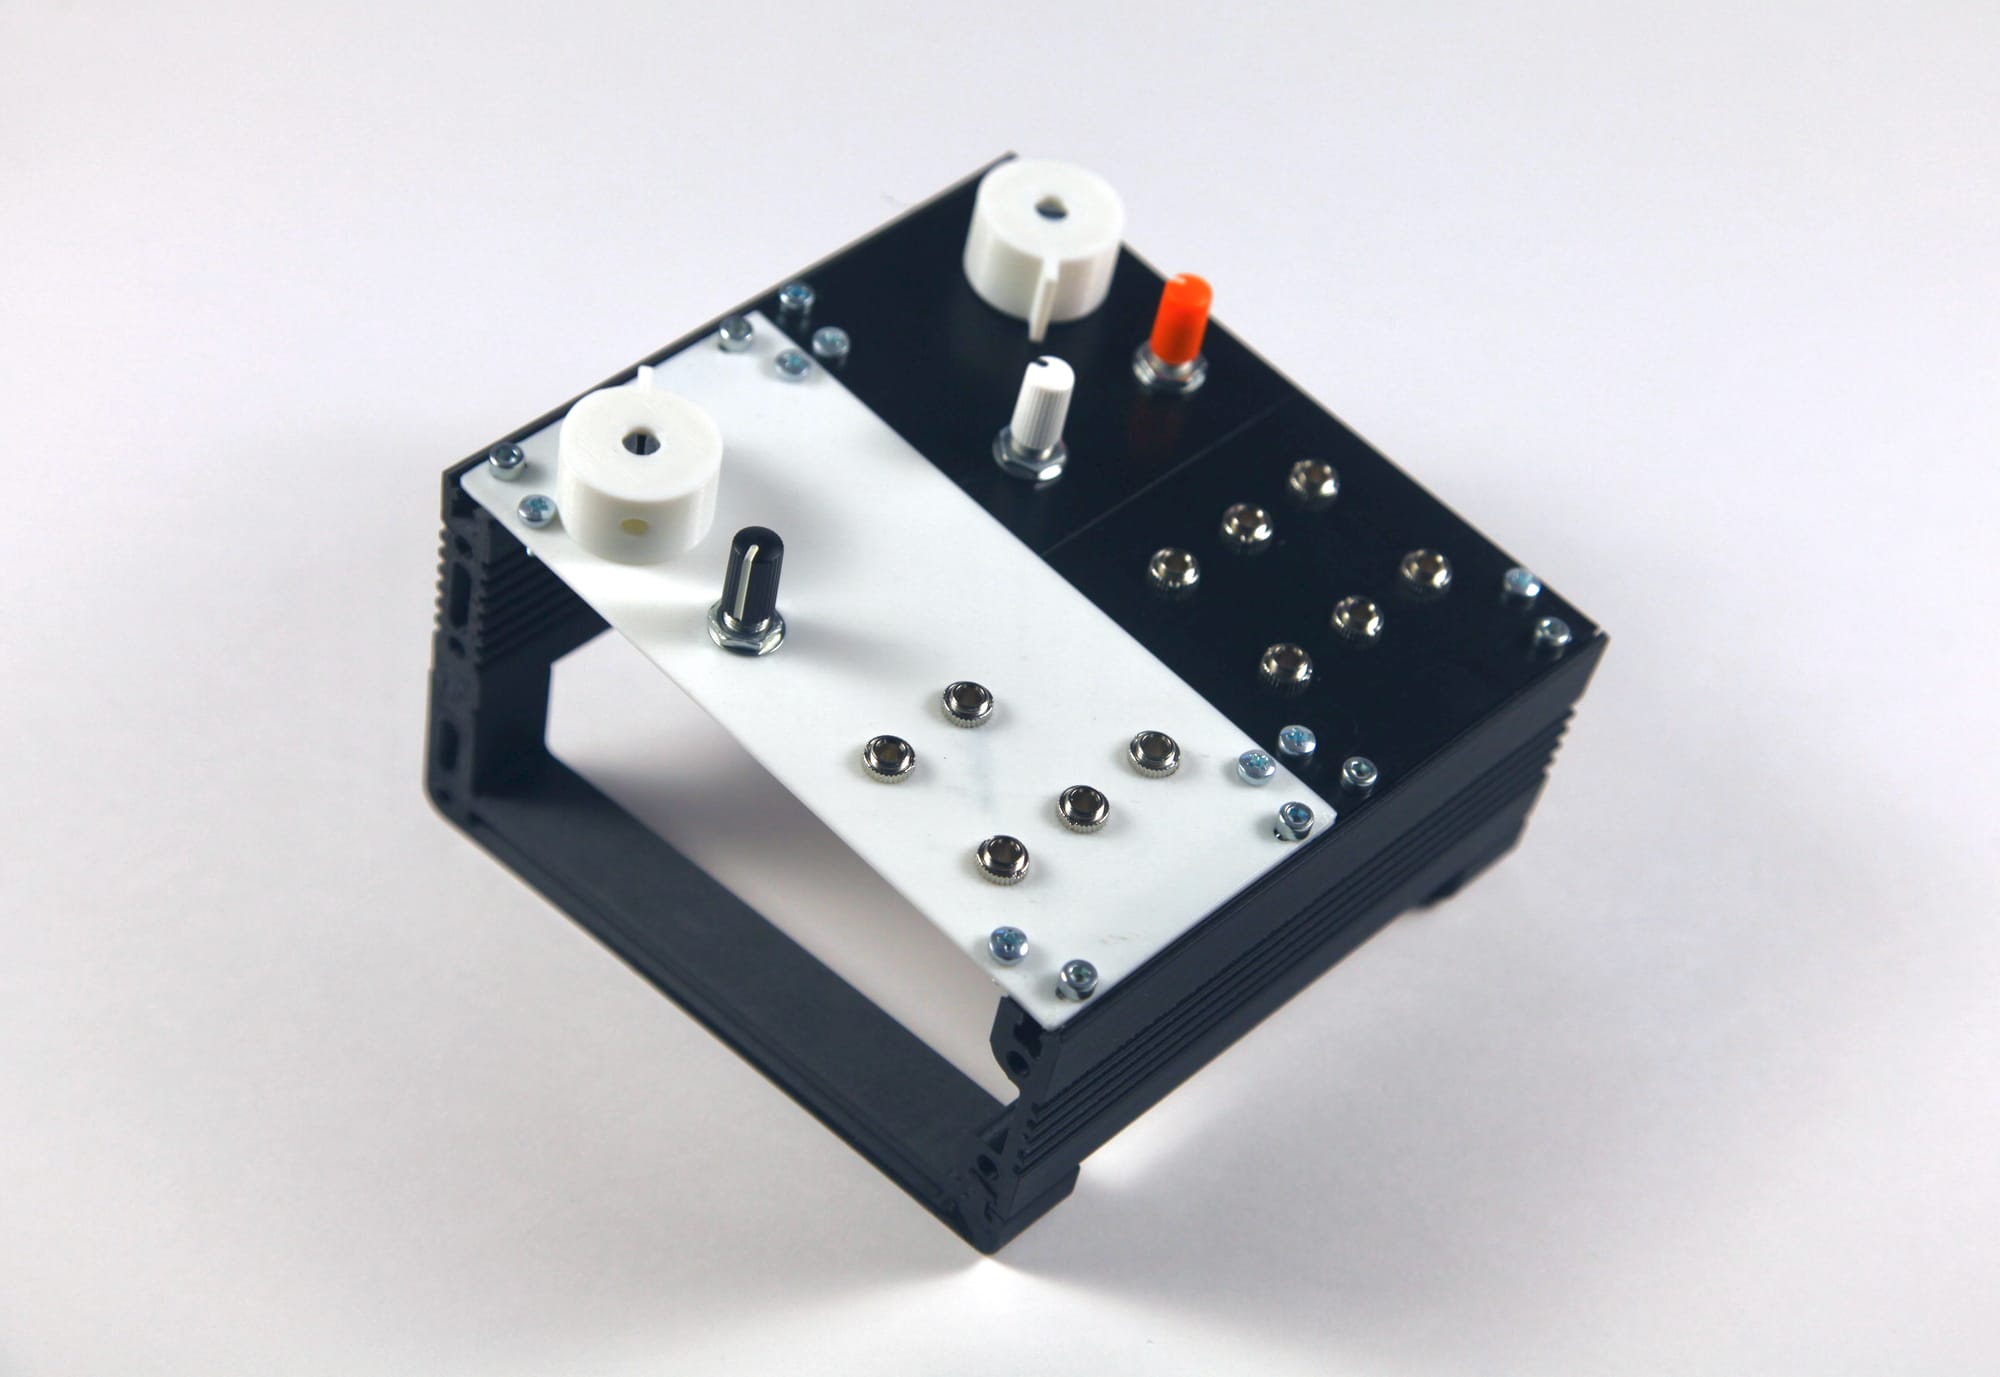
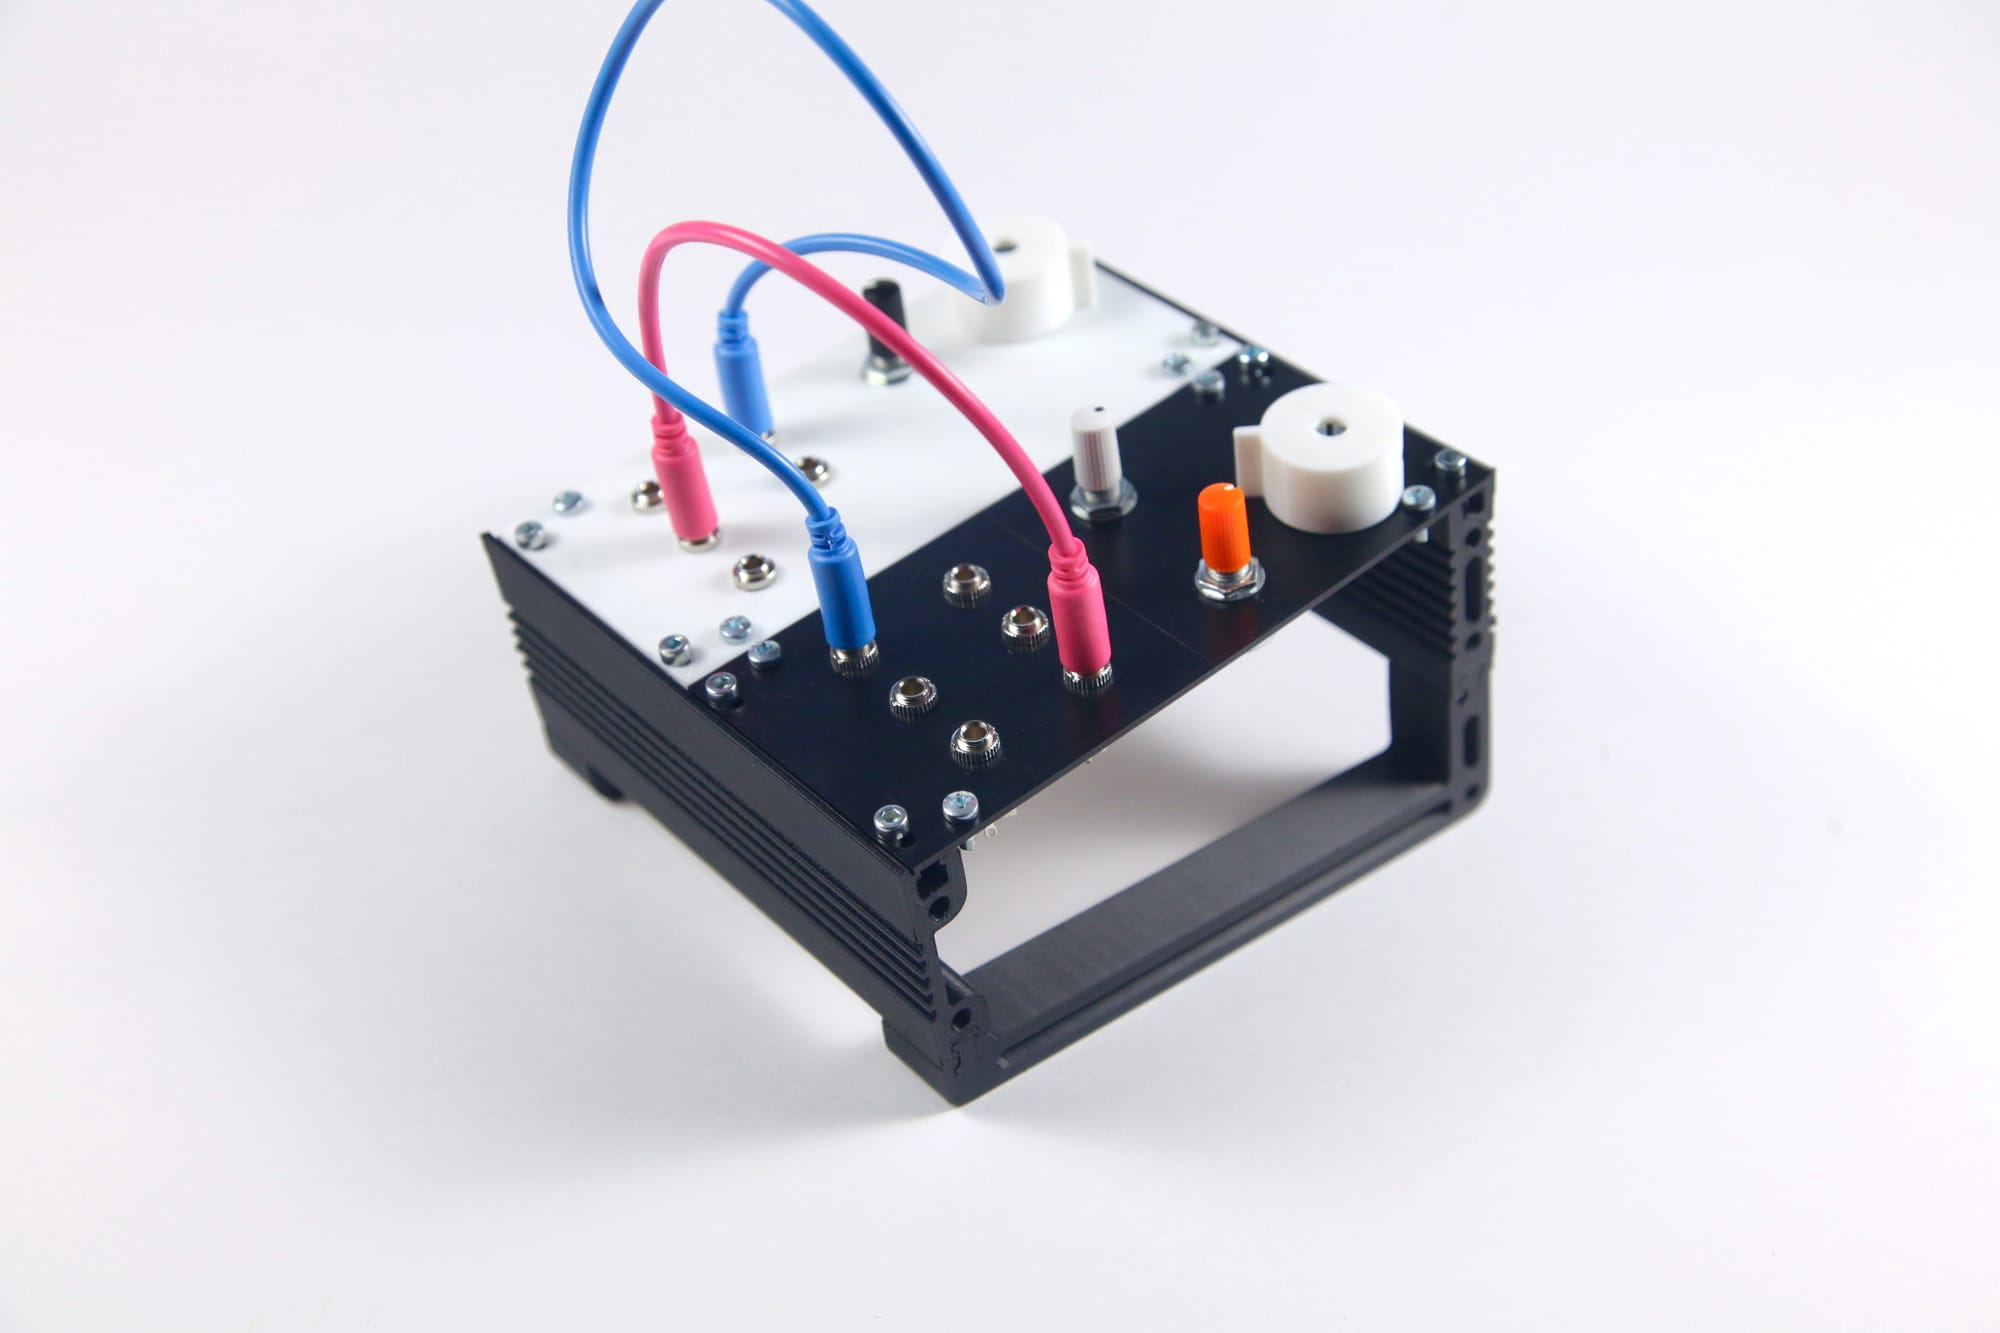
Test panels without electronics. White is 3D printed, black is laser-cut
Build files
Everything is open source, of course. You can access all design and 3D print files on the Hog Moduleur GitHub repo. Find printing and assembly instructions in the Eurorack Frame folder.
What’s Next
With the frame in place, we can finally start designing and building the guts of the synth, so next up: power supply and VCO PCBs. Things are gonna get even more fun!
Stay tuned, and as always, build along if you're up for it.
Peace and bless
— Zimo