Techmology — A Shmøergh Guide to Panel Graphics
"Okay it sounds good, but dude, how did you print those labels on the box?"
— asks literally everyone who sees our synths.
There’s a ton of info online about what goes inside a synth. Schematics, op-amp debates, Pico code, weird forum threads from 2009. But almost nothing about how to make the outside not look… well, shit.
And for us, the look of an instrument matters just as much as the sound. If you’ve ever played something that feels like a half-finished school project, you know the vibe. So here’s everything we’ve tried so far to get graphics onto panels. The good, the bad, and the ones we’d rather forget.
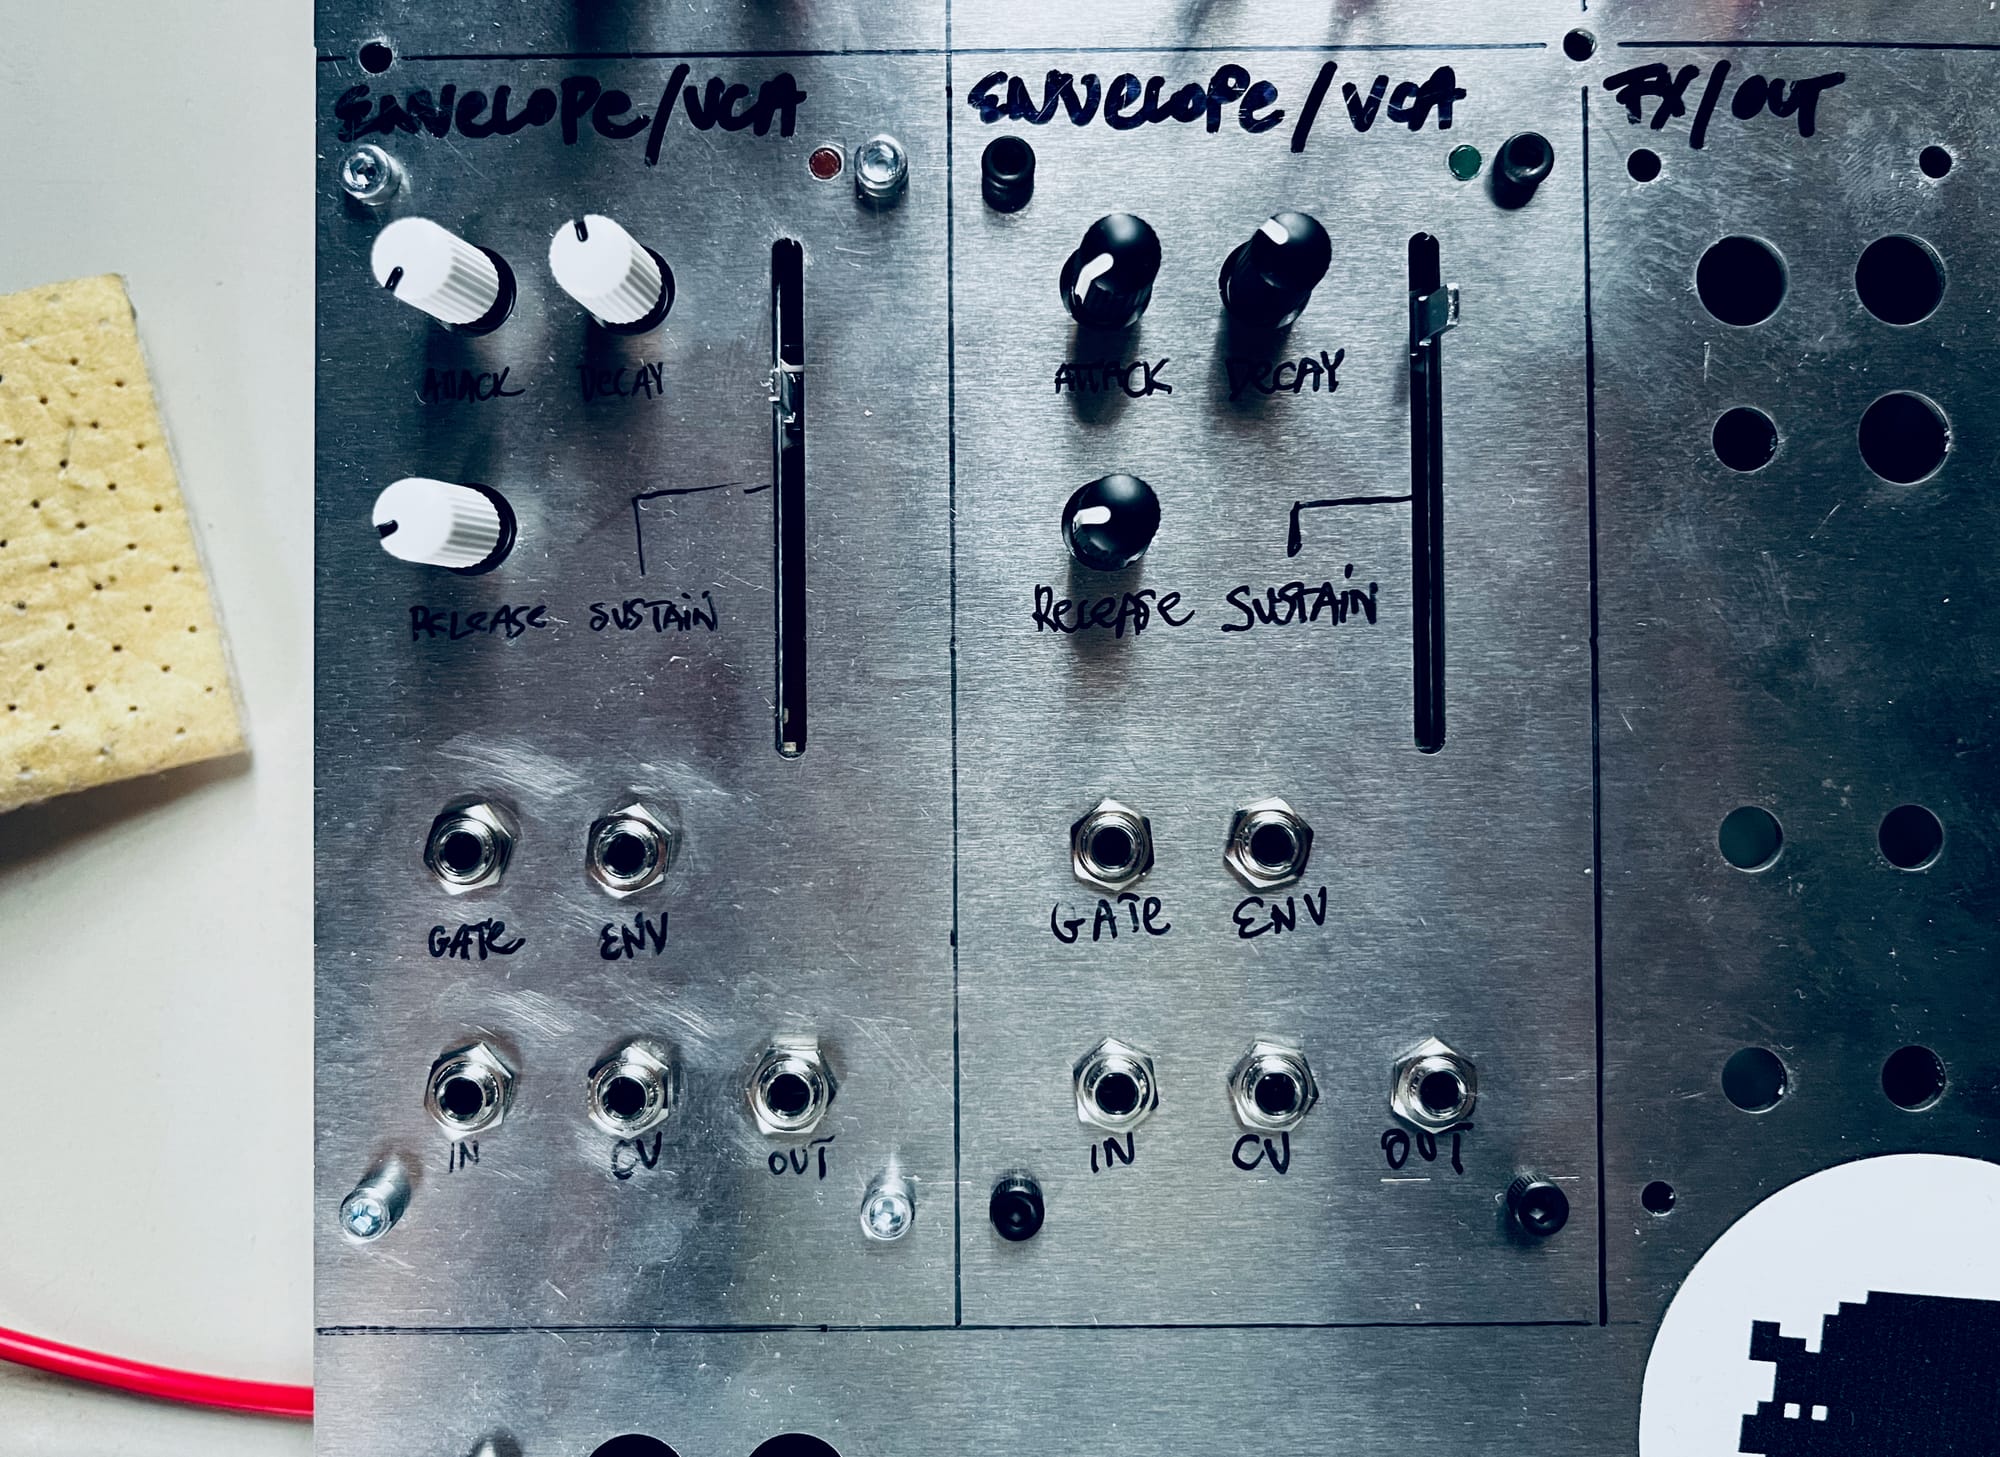
Handwriting
Our first “synth” was an Arduino/Mozzi FM thing in an IKEA tablet stand. That “panel” was about 2 mm thick so you could technically screw jacks into it. We hand-wrote the labels with a Sharpie. It looked cute. And by cute we obviously mean shit.
Unless you’re a typographer with insane handwriting, skip this method.
Stickers
On paper, stickers sound like a perfect DIY trick. In practice tho', you either print one giant sticker and fight bubbles (think phone screen protector) and you need to cut each hole which is a proper pain in the ass. Or you can cut individual labels which start peeling almost immediately.

Standard stickers that you find in stationary shops age badly, get wrinkles easily and they never look truly intentional. We’ve tried. Meh. Nah.
However, some print shops have strong, thick stickers which are much better, especially if they can cut the holes for you. For example The Moog Grandmother has a giant thick-ass sticker on its top panel and that feels like a tank couldn't blow it off.
Toner Transfer
Now we're getting somewhere. Toner transfer was our go-to prototype "print" method for nearly three years. It’s a chemical process that transfers laser-printed graphics onto flat surfaces. You print something on regular print paper, apply the liquid, rub it in, and the toner jumps onto your panel like ✨magick✨.
What’s good about it
- looks 10x more pro than stickers and infinitely more pro than handwriting
- surprisingly durable
- cheap and easy once you get the technique right
What’s not so good
- it's black & white (well, truth is we haven't tried color laser print)
- fine detail can bleed a little, especially on wood
- alignment can be stressful
Still, for quick prototypes or even full DIY projects it’s almost unbeatable. If you want to see the whole workflow, check out Zimo’s post.
Laser Engraving
Laser engraving on colored anodized aluminum looks incredible. Crisp lines, high contrast, a real “pro” feel. The kind of thing you’d expect on a device that survived the 80s and still works flawlessly.
The catch is that you need access to a proper laser cutter. They’re expensive, fussy, slow, and mostly push you into a clean industrial aesthetic. But if that’s something you can afford and want, the results are fantastic.
Silkscreen and Pad Printing
This is the classic manufacturing technique you’ll see on commercial synths. It’s also the most exhausting and least cost-efficient to work with in small volumes. Every design needs its own screen, setup is annoying, and cleanup is miserable.
For our tiny batches, it just isn’t worth the pain.
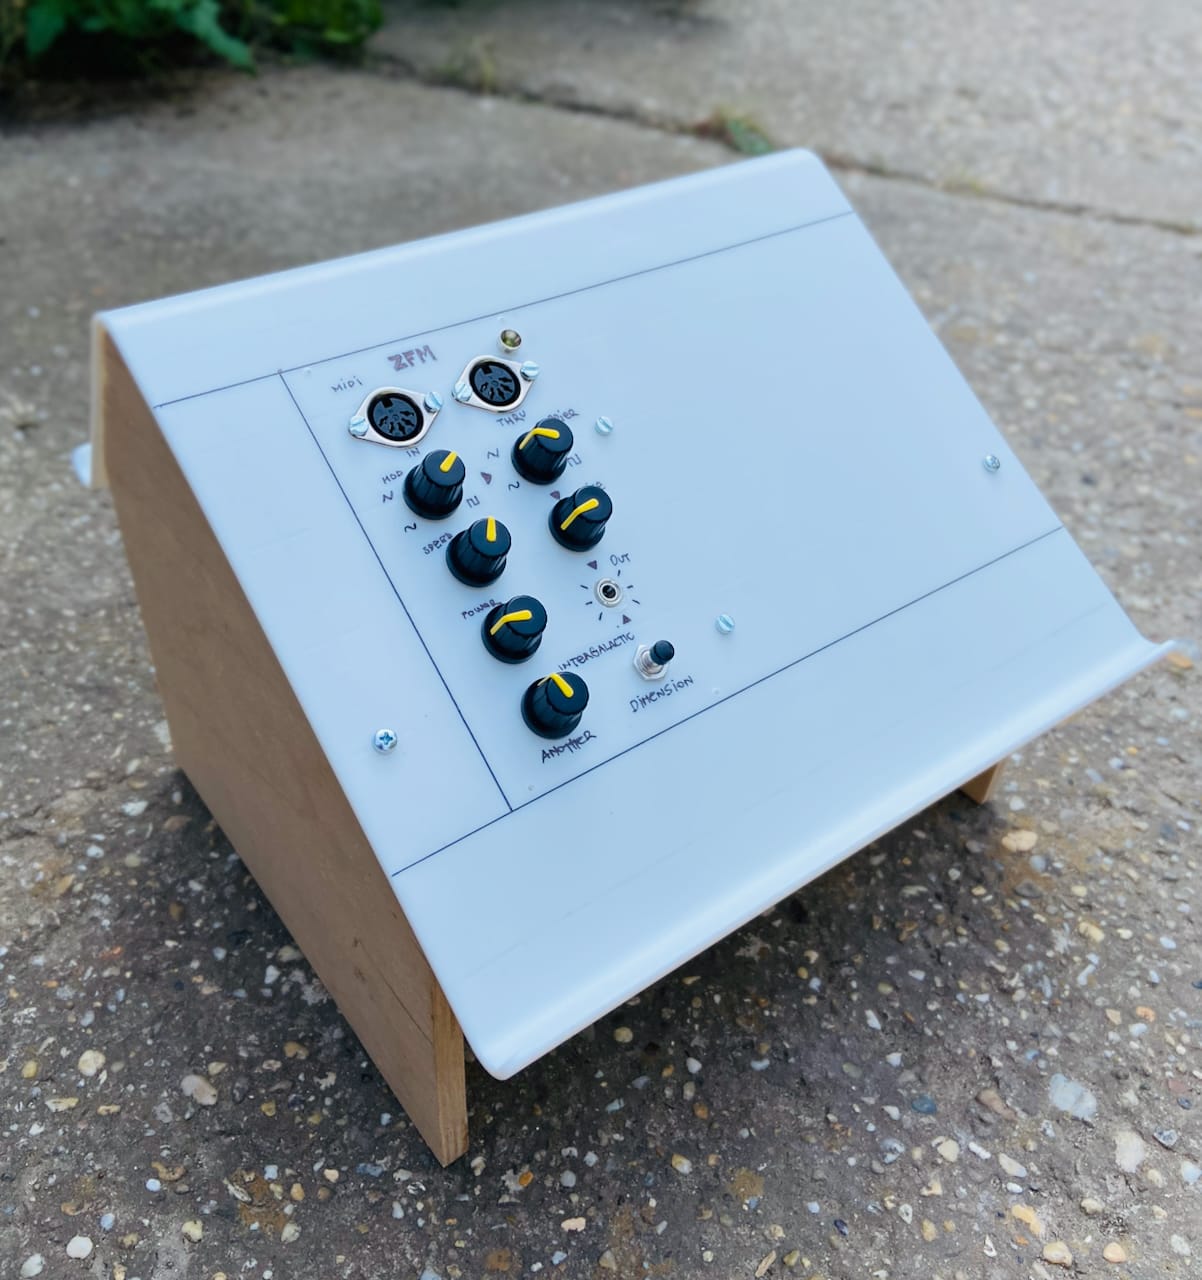
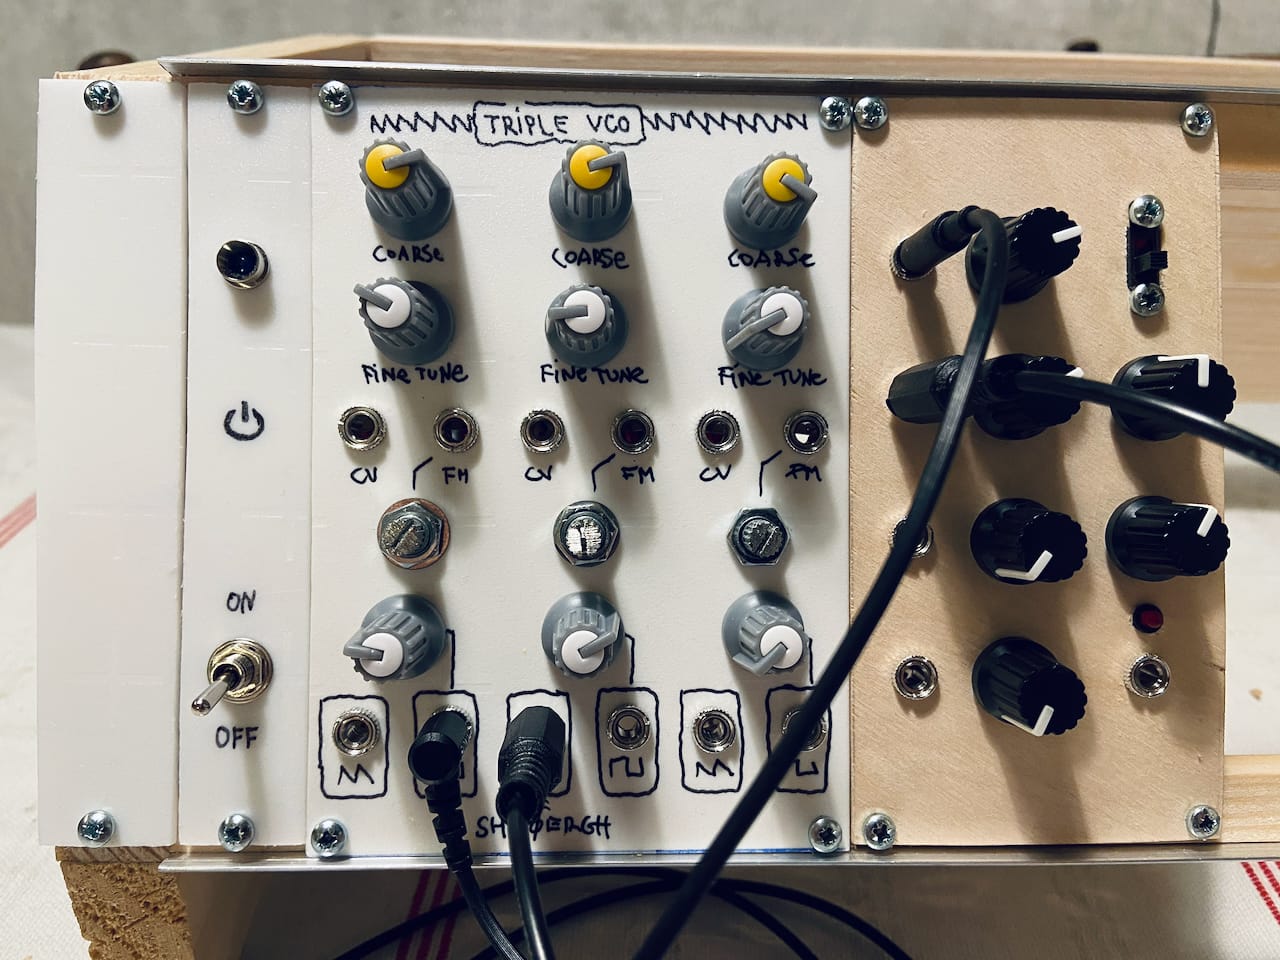
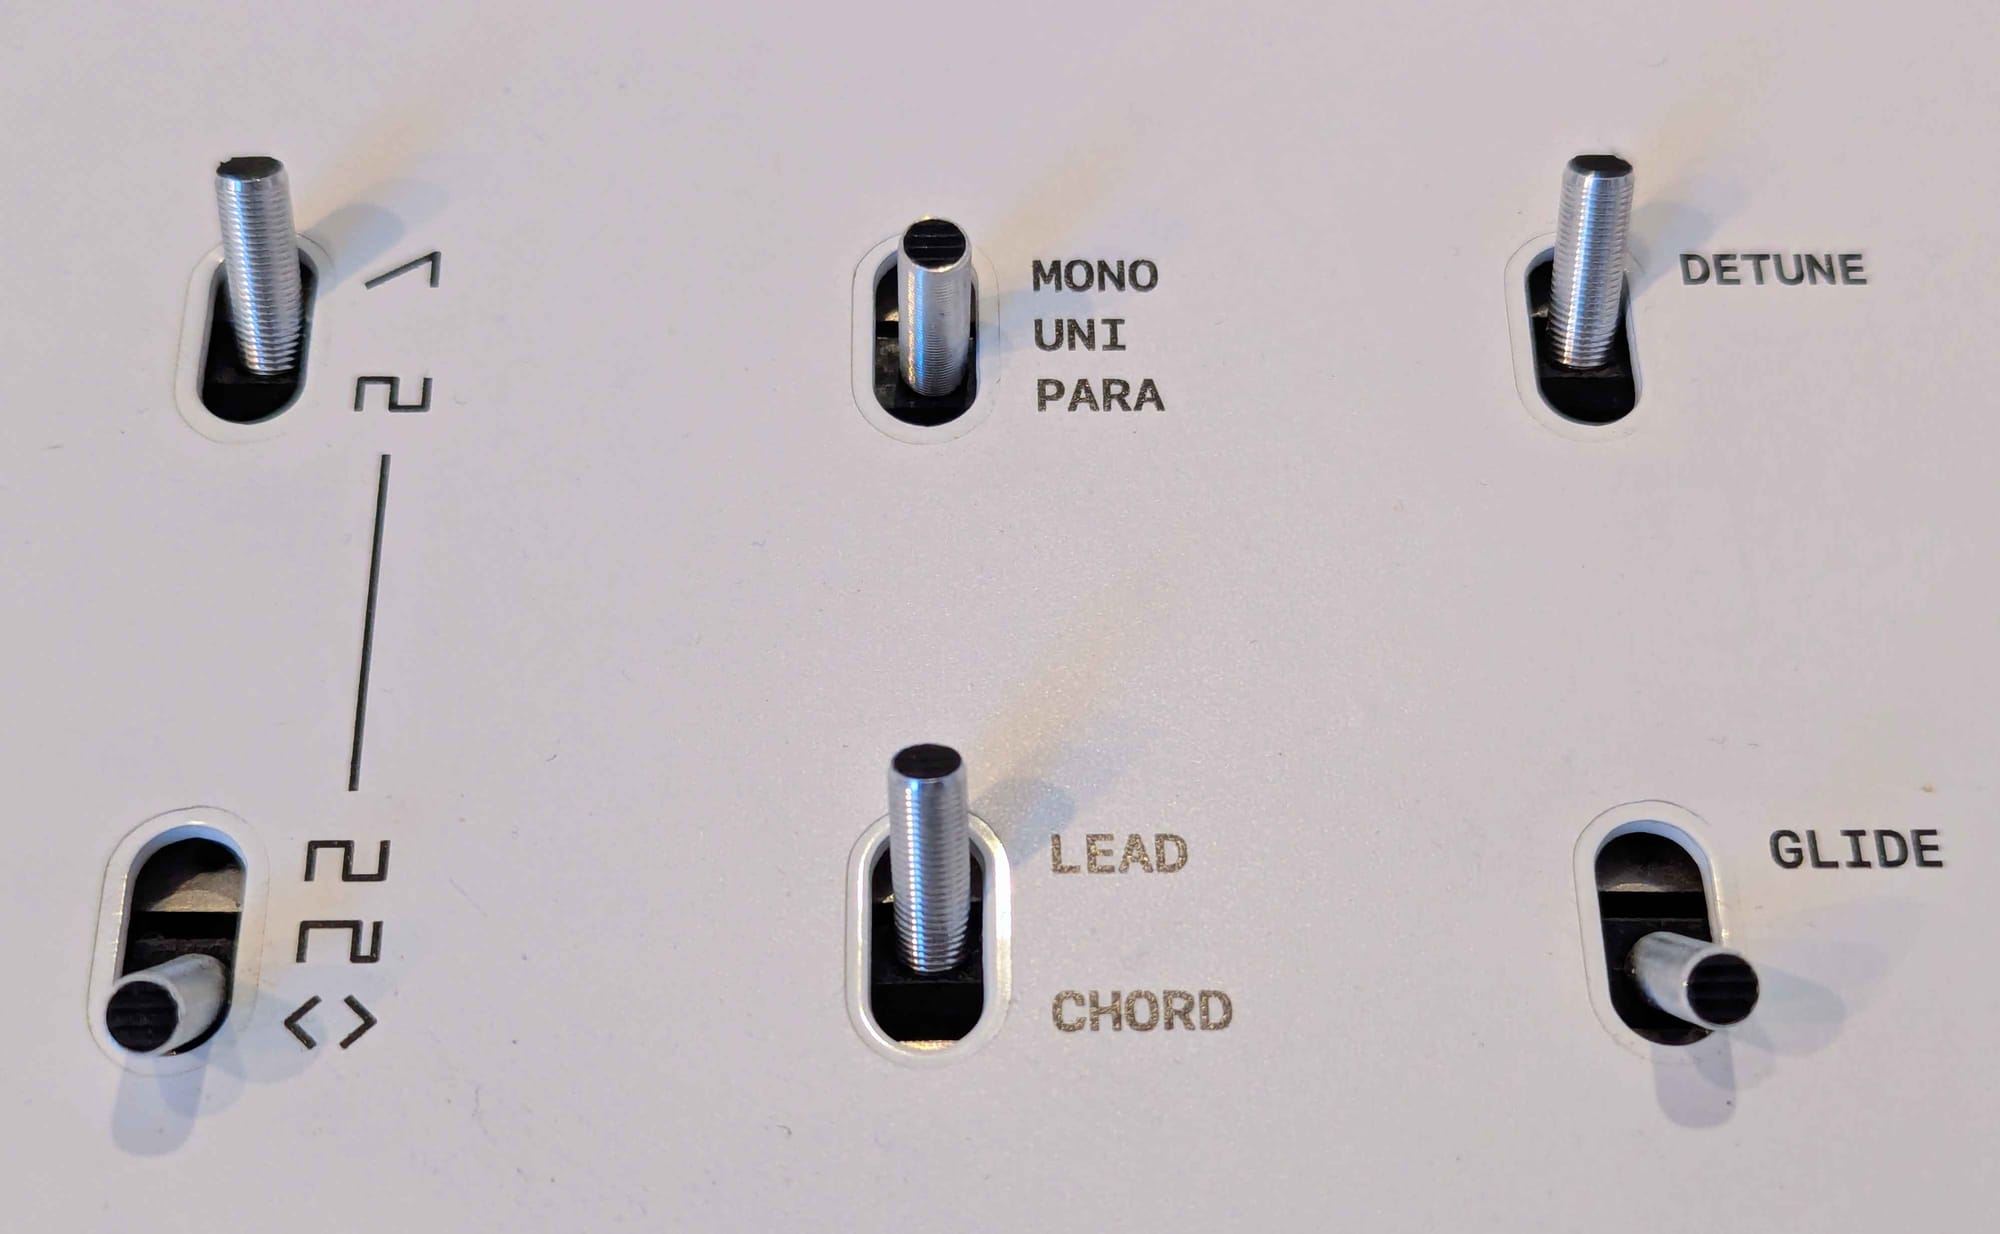
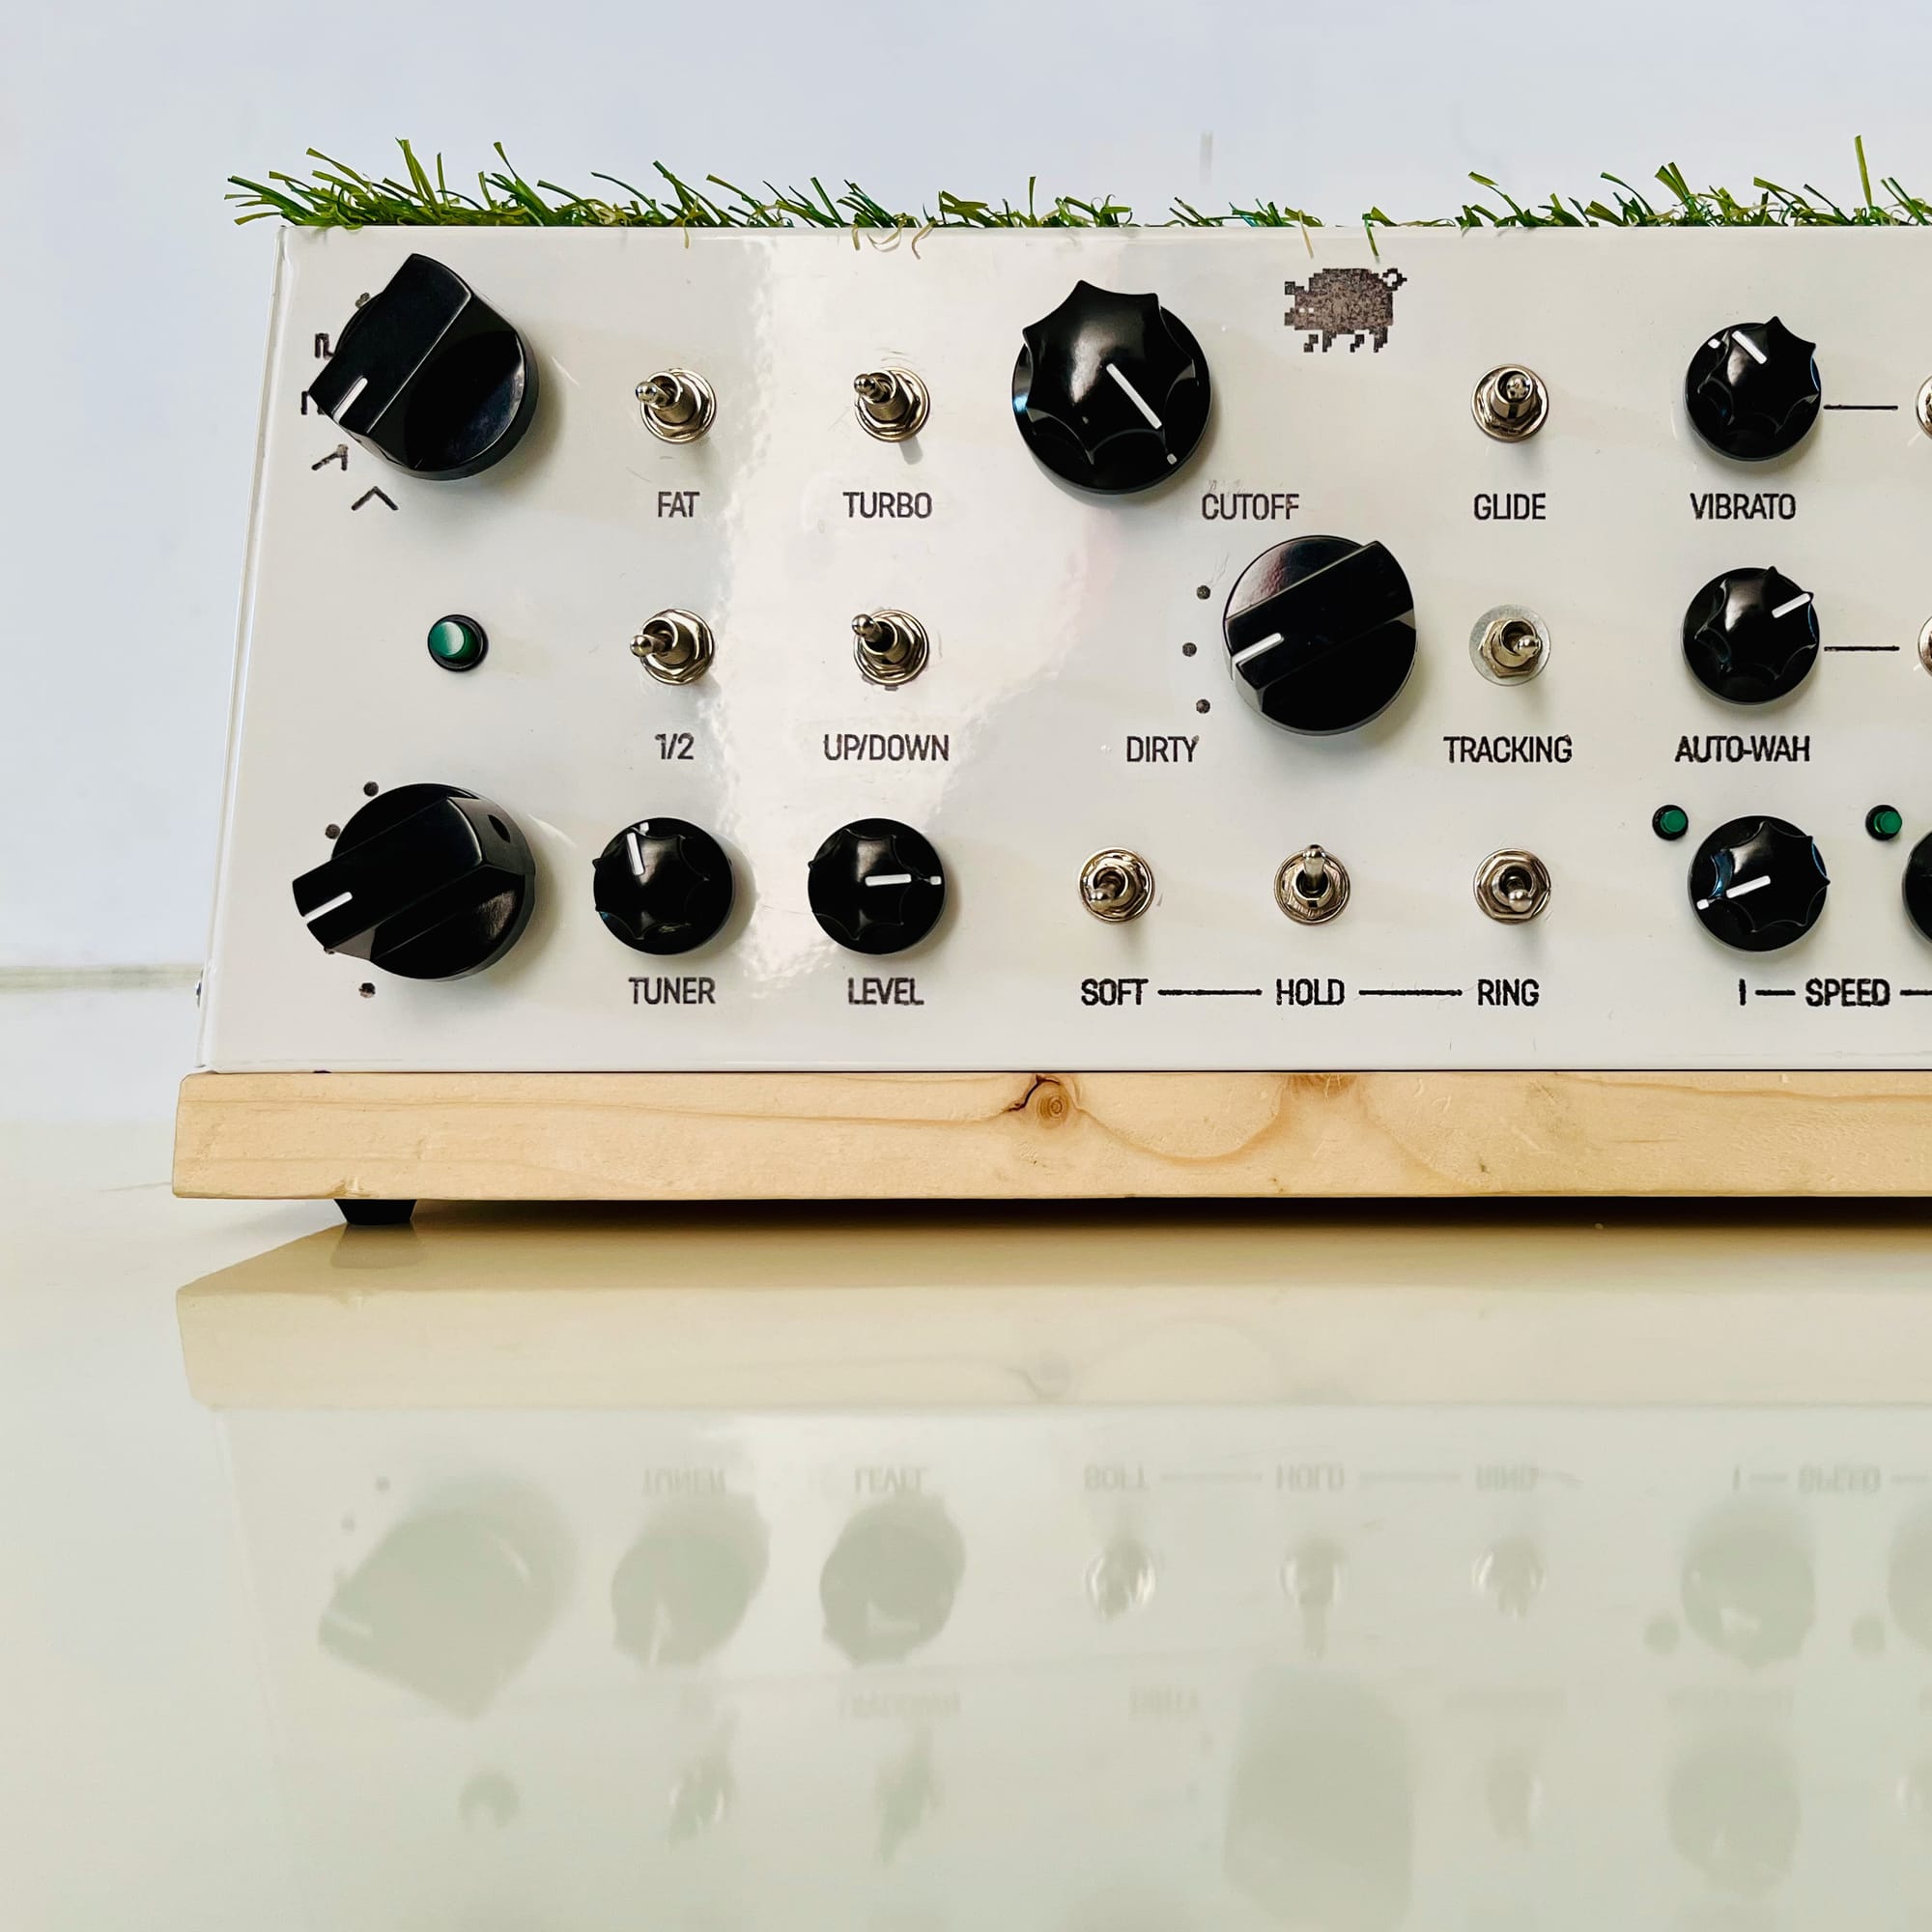
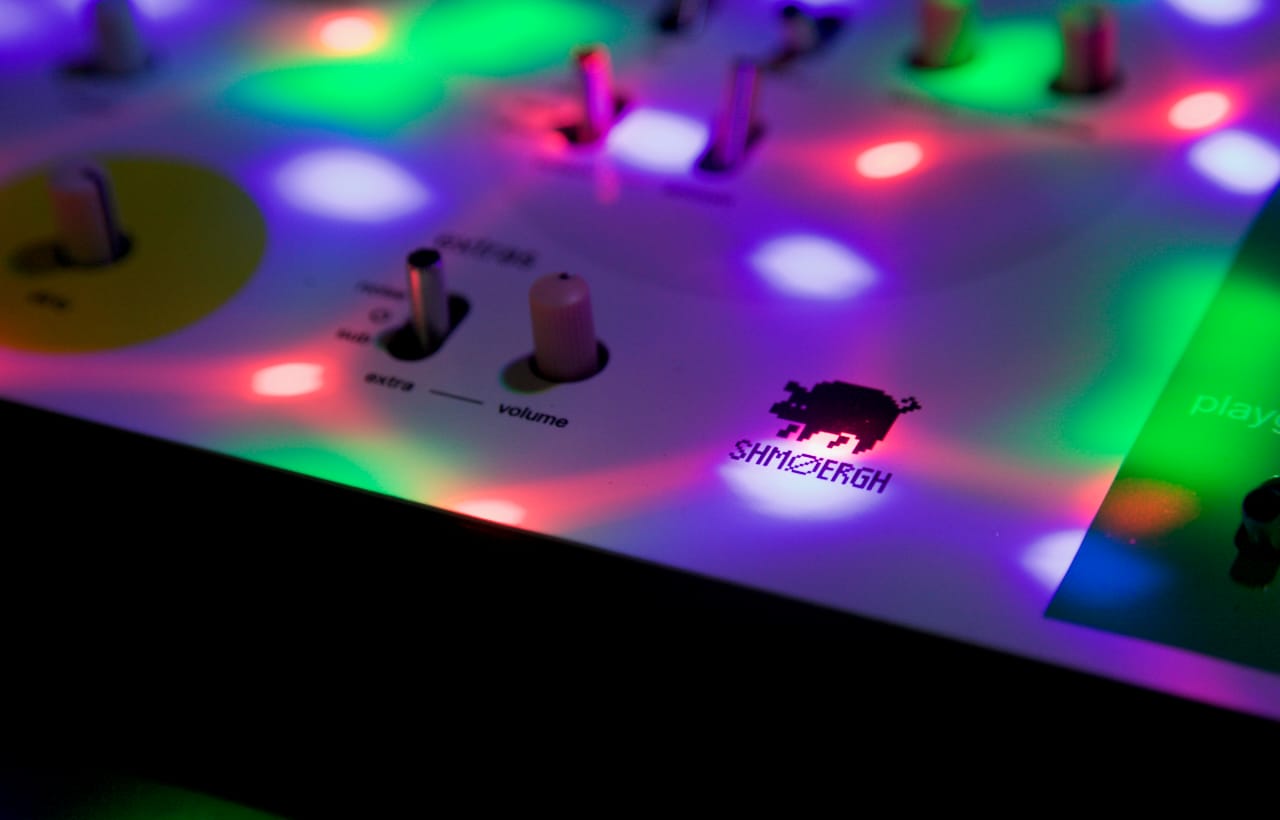
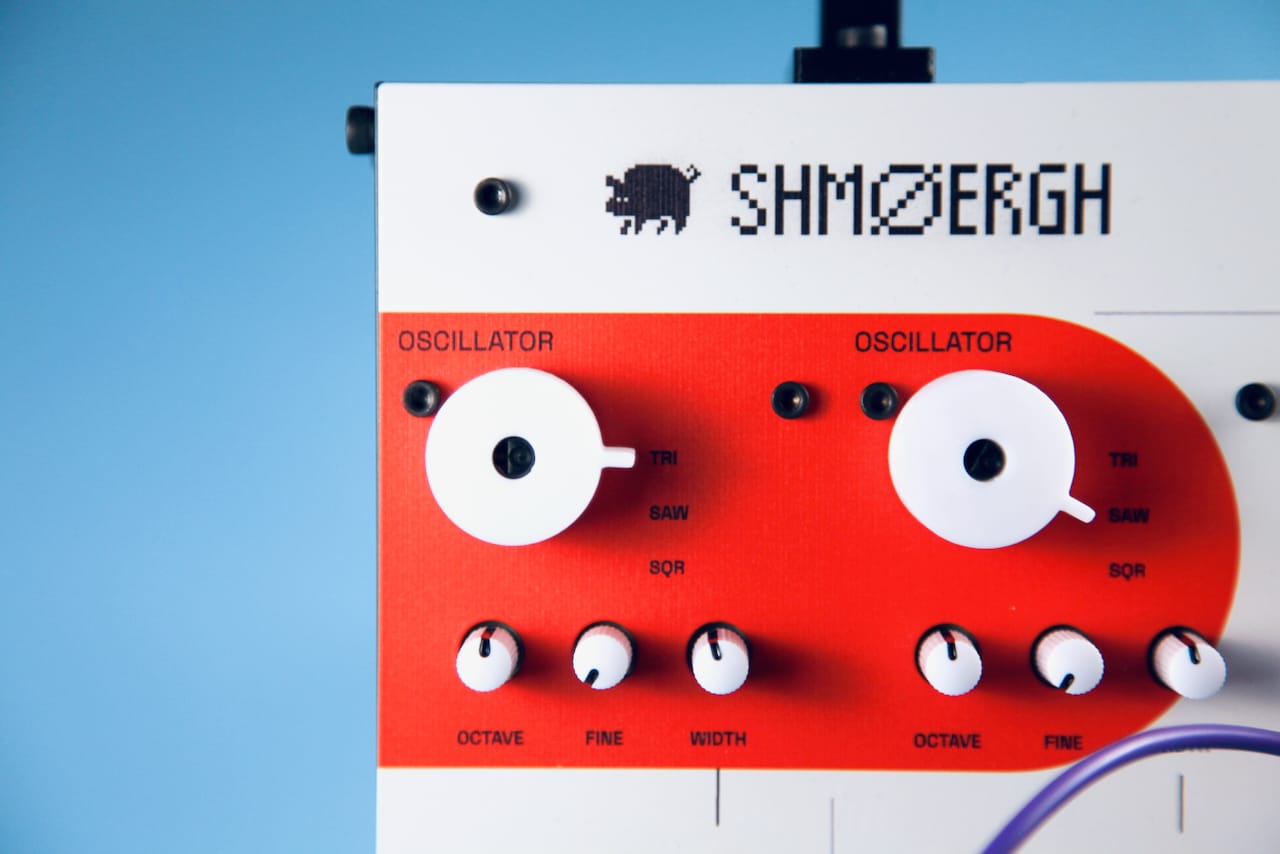
And then... UV Printing
This is the method we’ve been using lately and it hits a sweet spot between accessibility and quality.
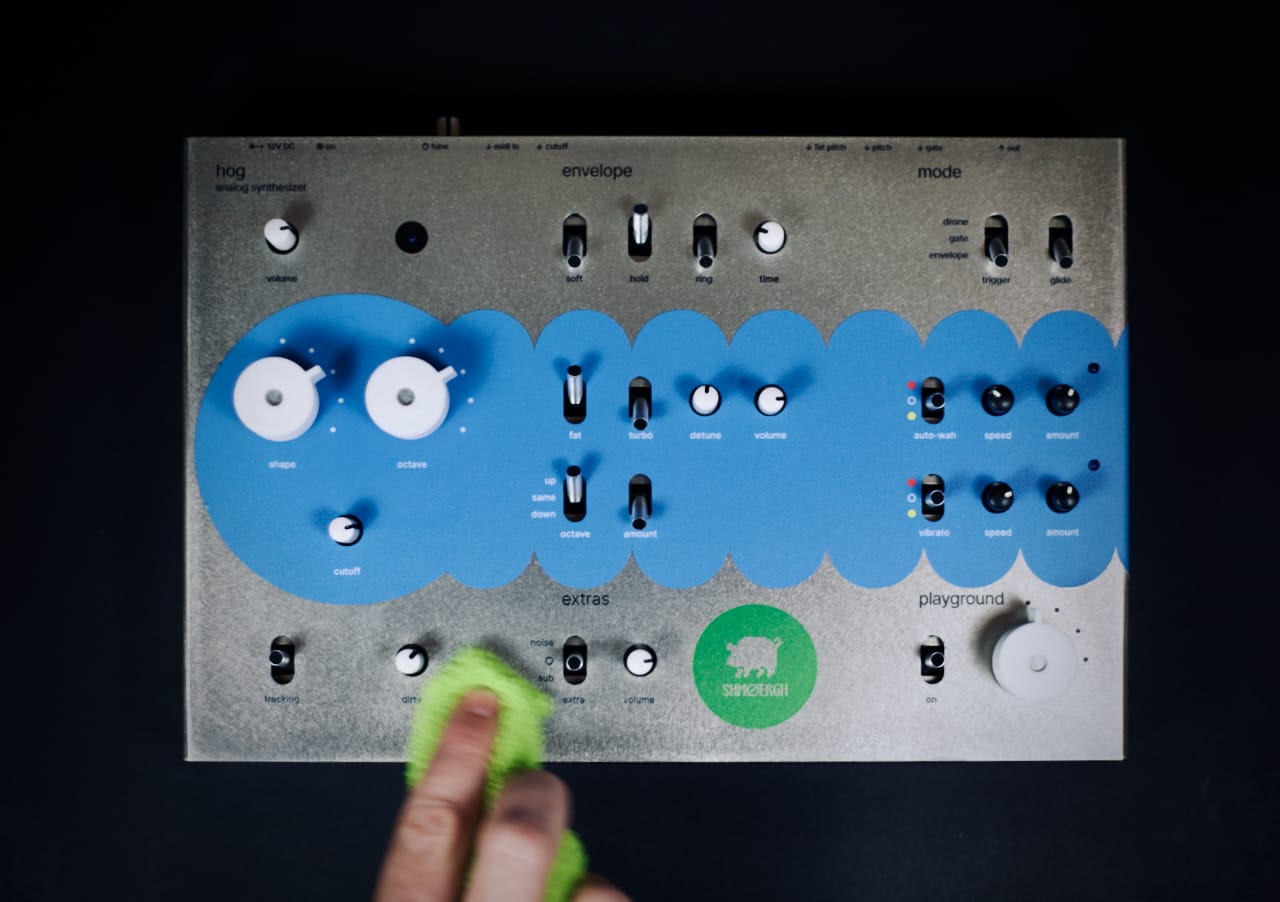
If you’ve never heard of it, imagine an inkjet printer that can print on physical objects. Metal, acrylic, wood, even slightly 3D surfaces. The Hog enclosure we made last year slid into a regular UV printer without drama.
Here’s what happens:
- the printer sprays UV-reactive resin ink
- a built-in UV lamp cures it instantly
- the ink bonds to the surface like it belongs there
What we love about it:
- extremely high resolution and sharp graphics
- works perfectly on powder coated surfaces, especially matte ones
- real colors instead of the monotone look of engraving
- perfect for prototyping because there’s no setup
- durable enough that it won’t fade or flake
One thing to watch out for: it’s not scratch-proof. We finish our panels with three layers of acrylic lacquer and that gives enough protection.
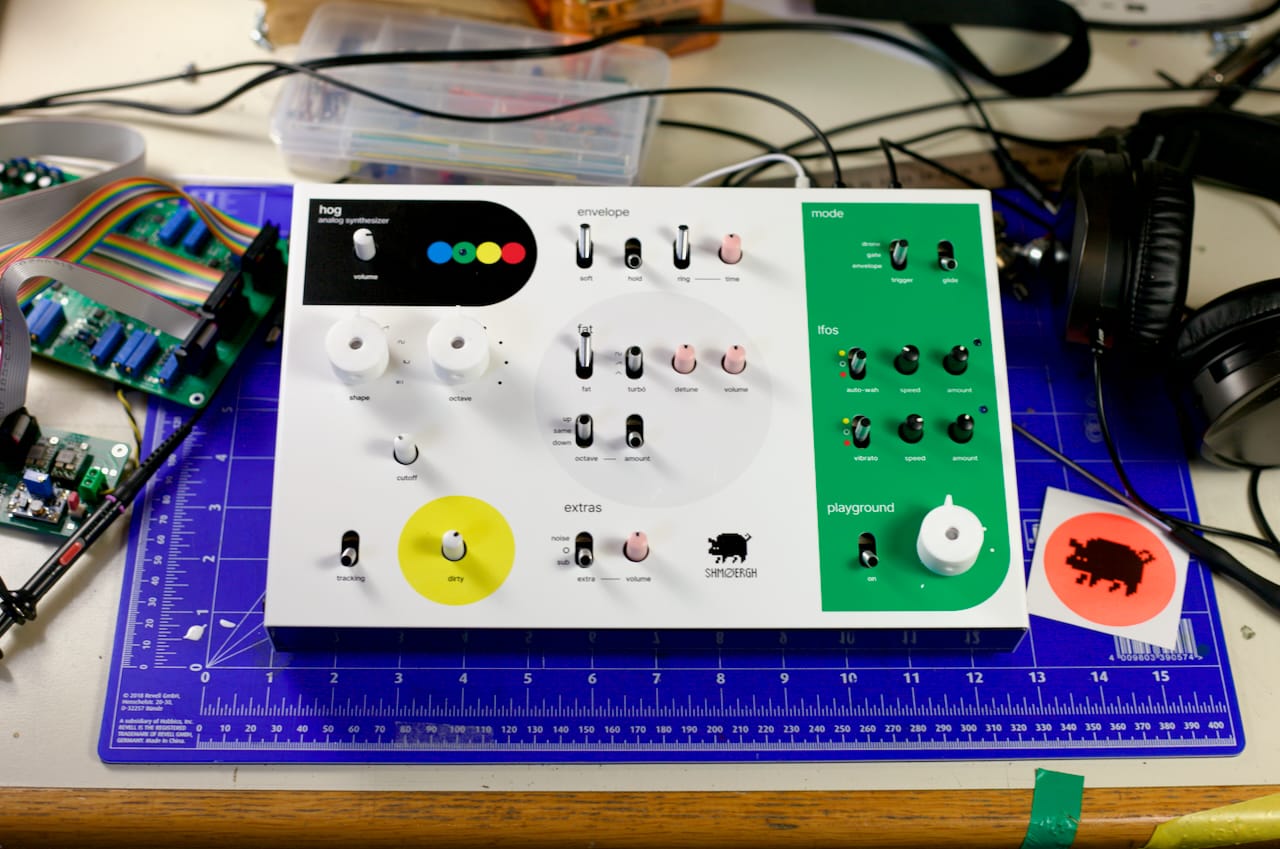
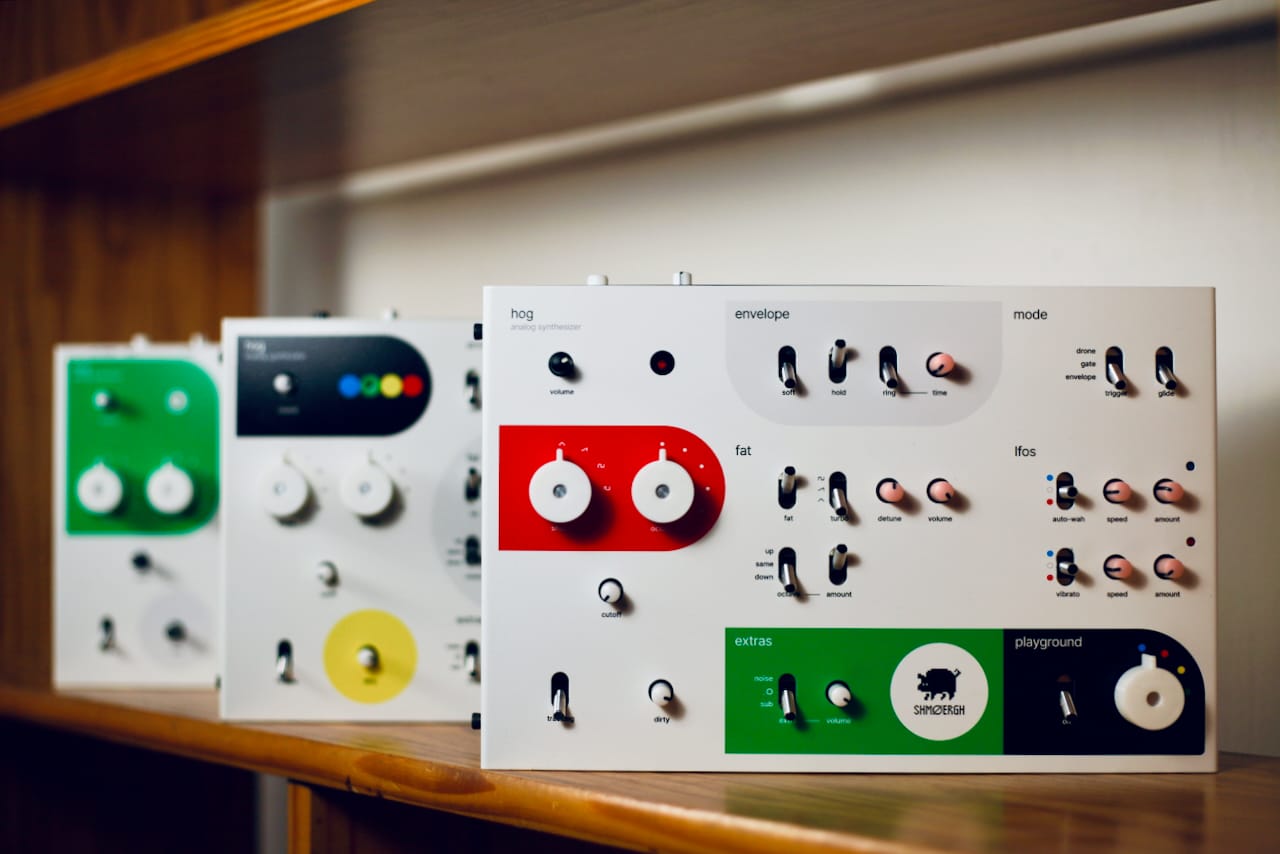
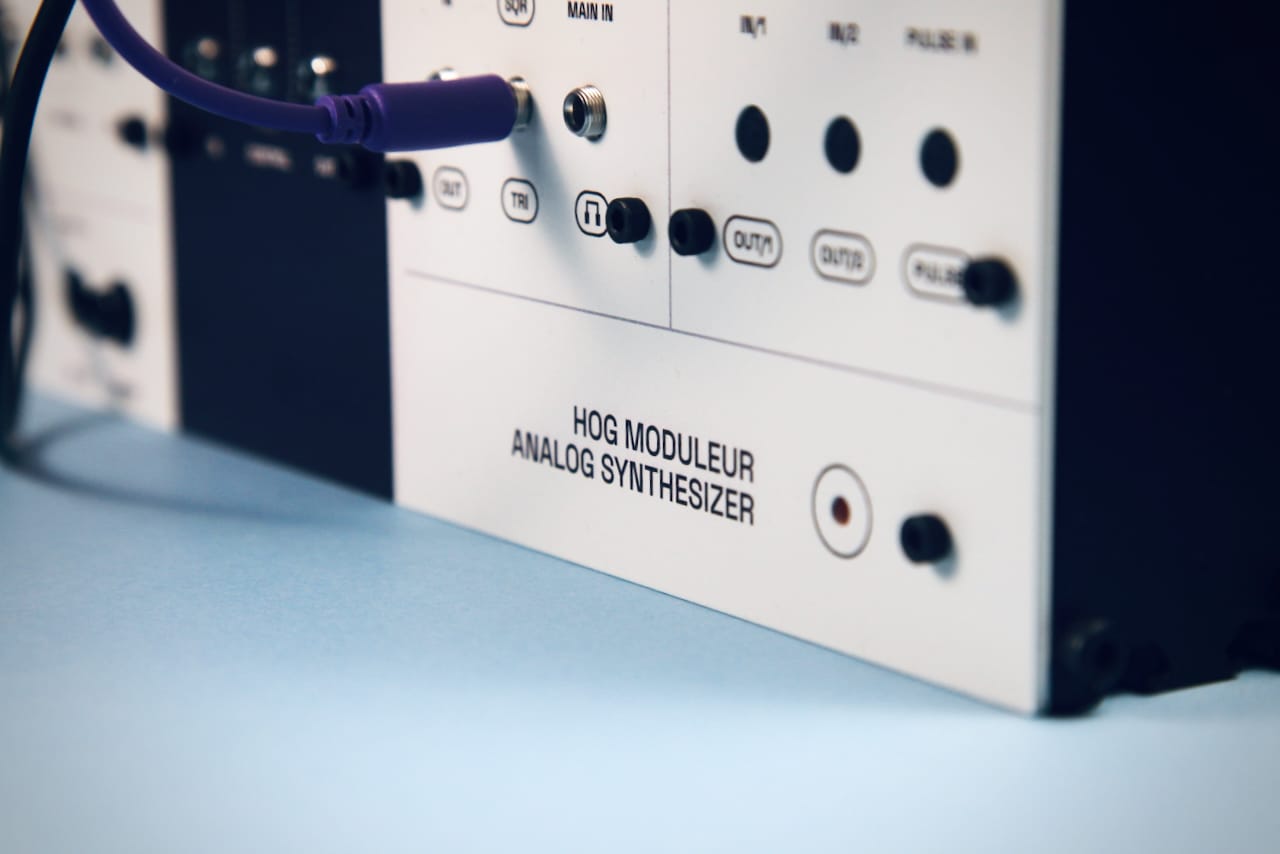
If you’re thinking “I’ll just buy a UV printer,” prepare for a sudden increase in blood pressure because the decent ones start around 20k. We're just 19.9k short of that so instead we found a guy at FabLab Budapest who runs one with surgeon-level care. Absolute hero.
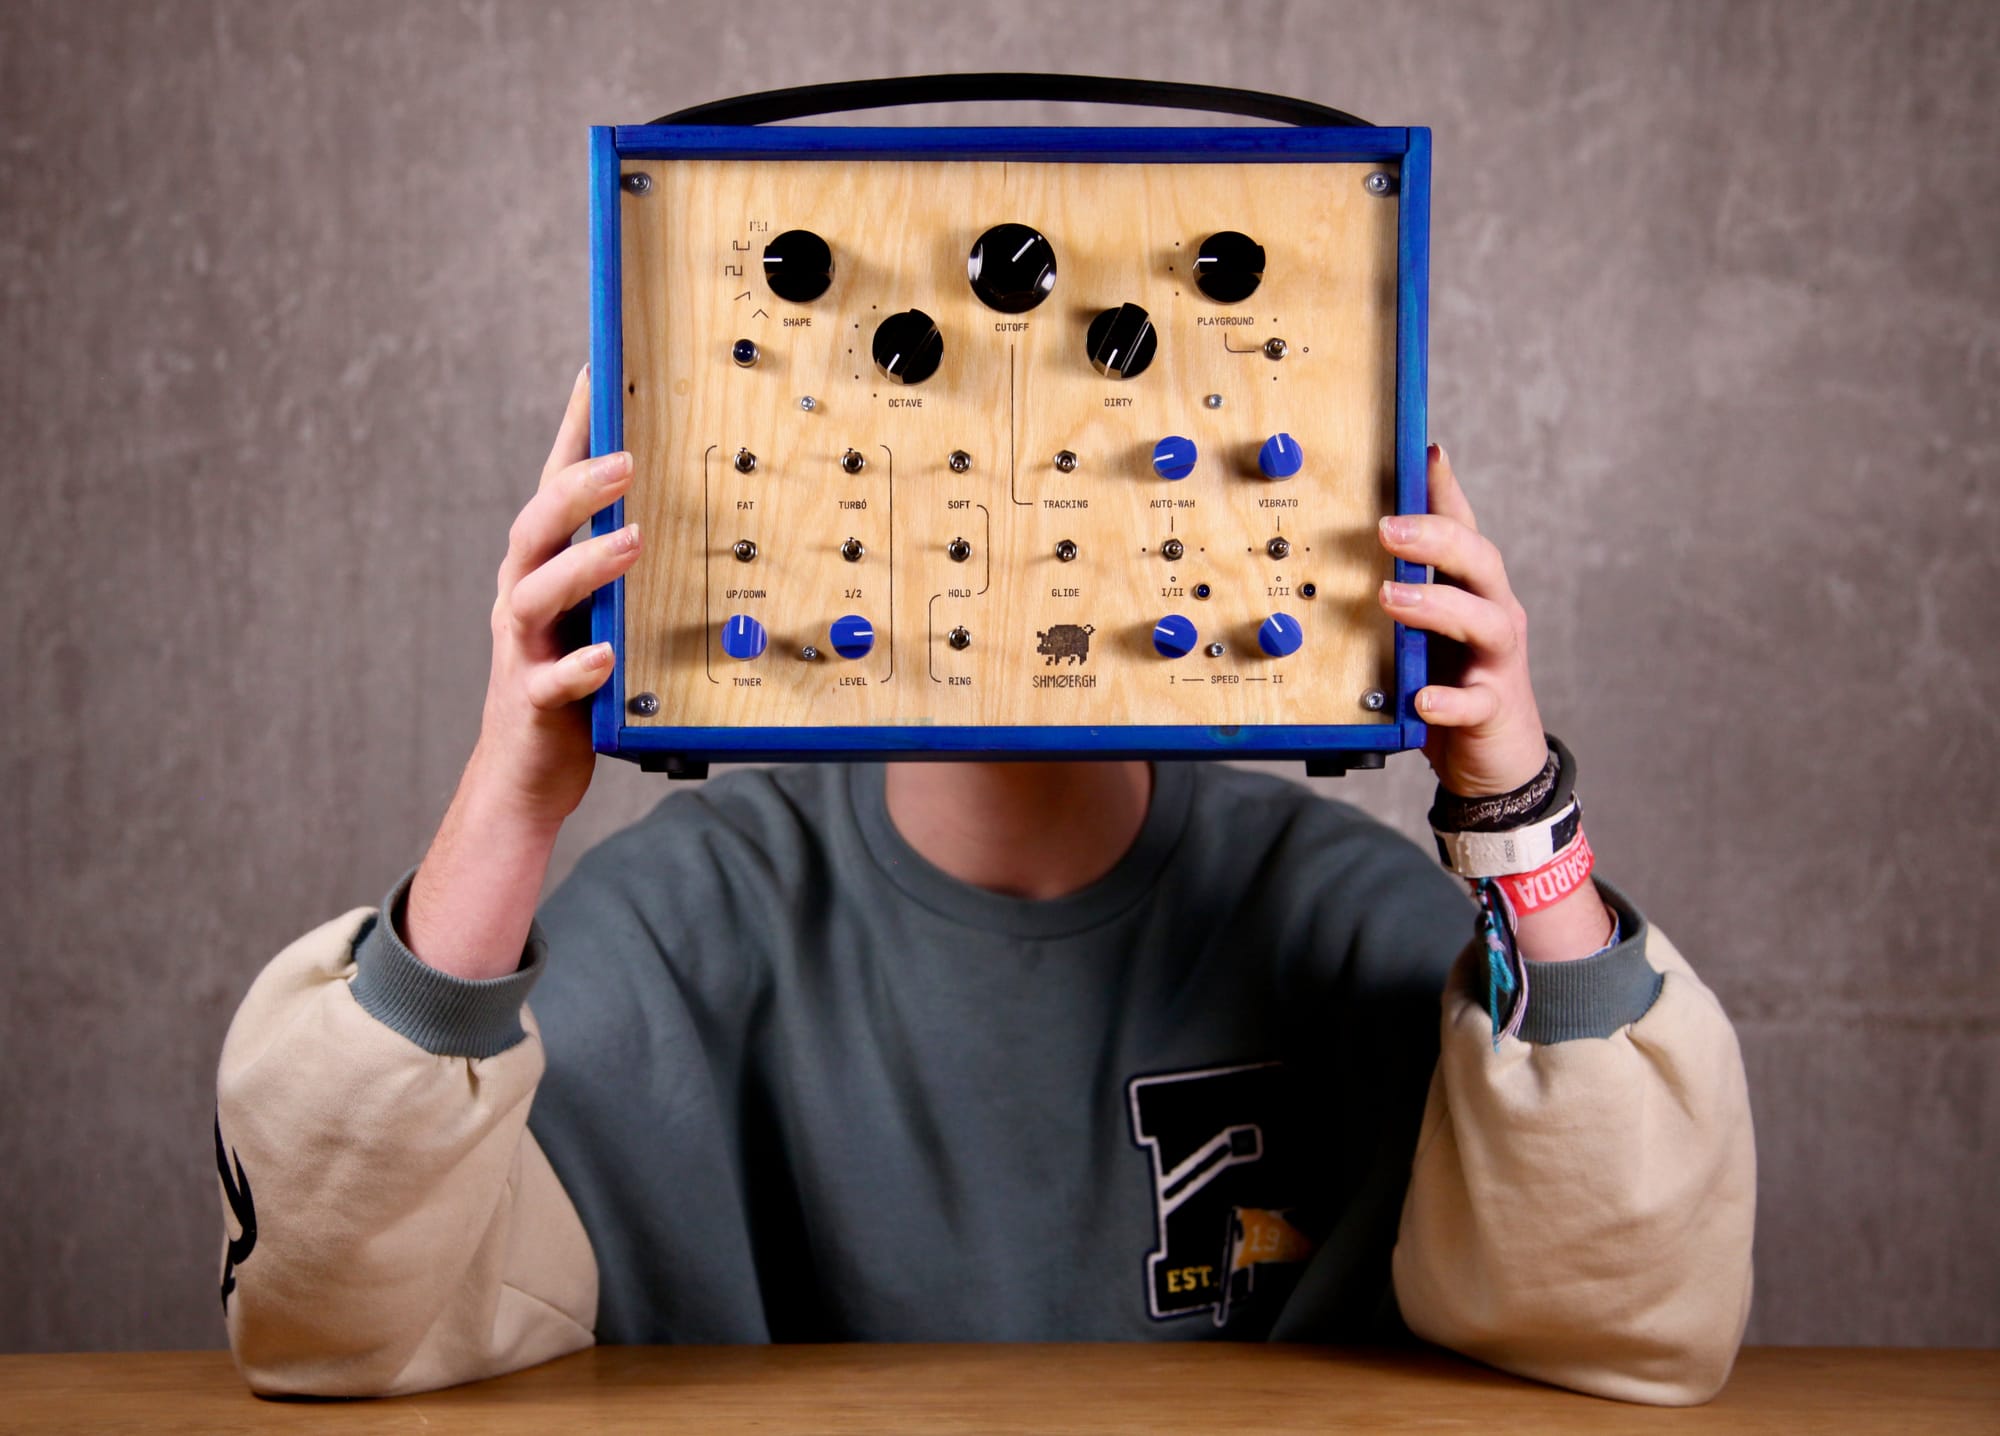
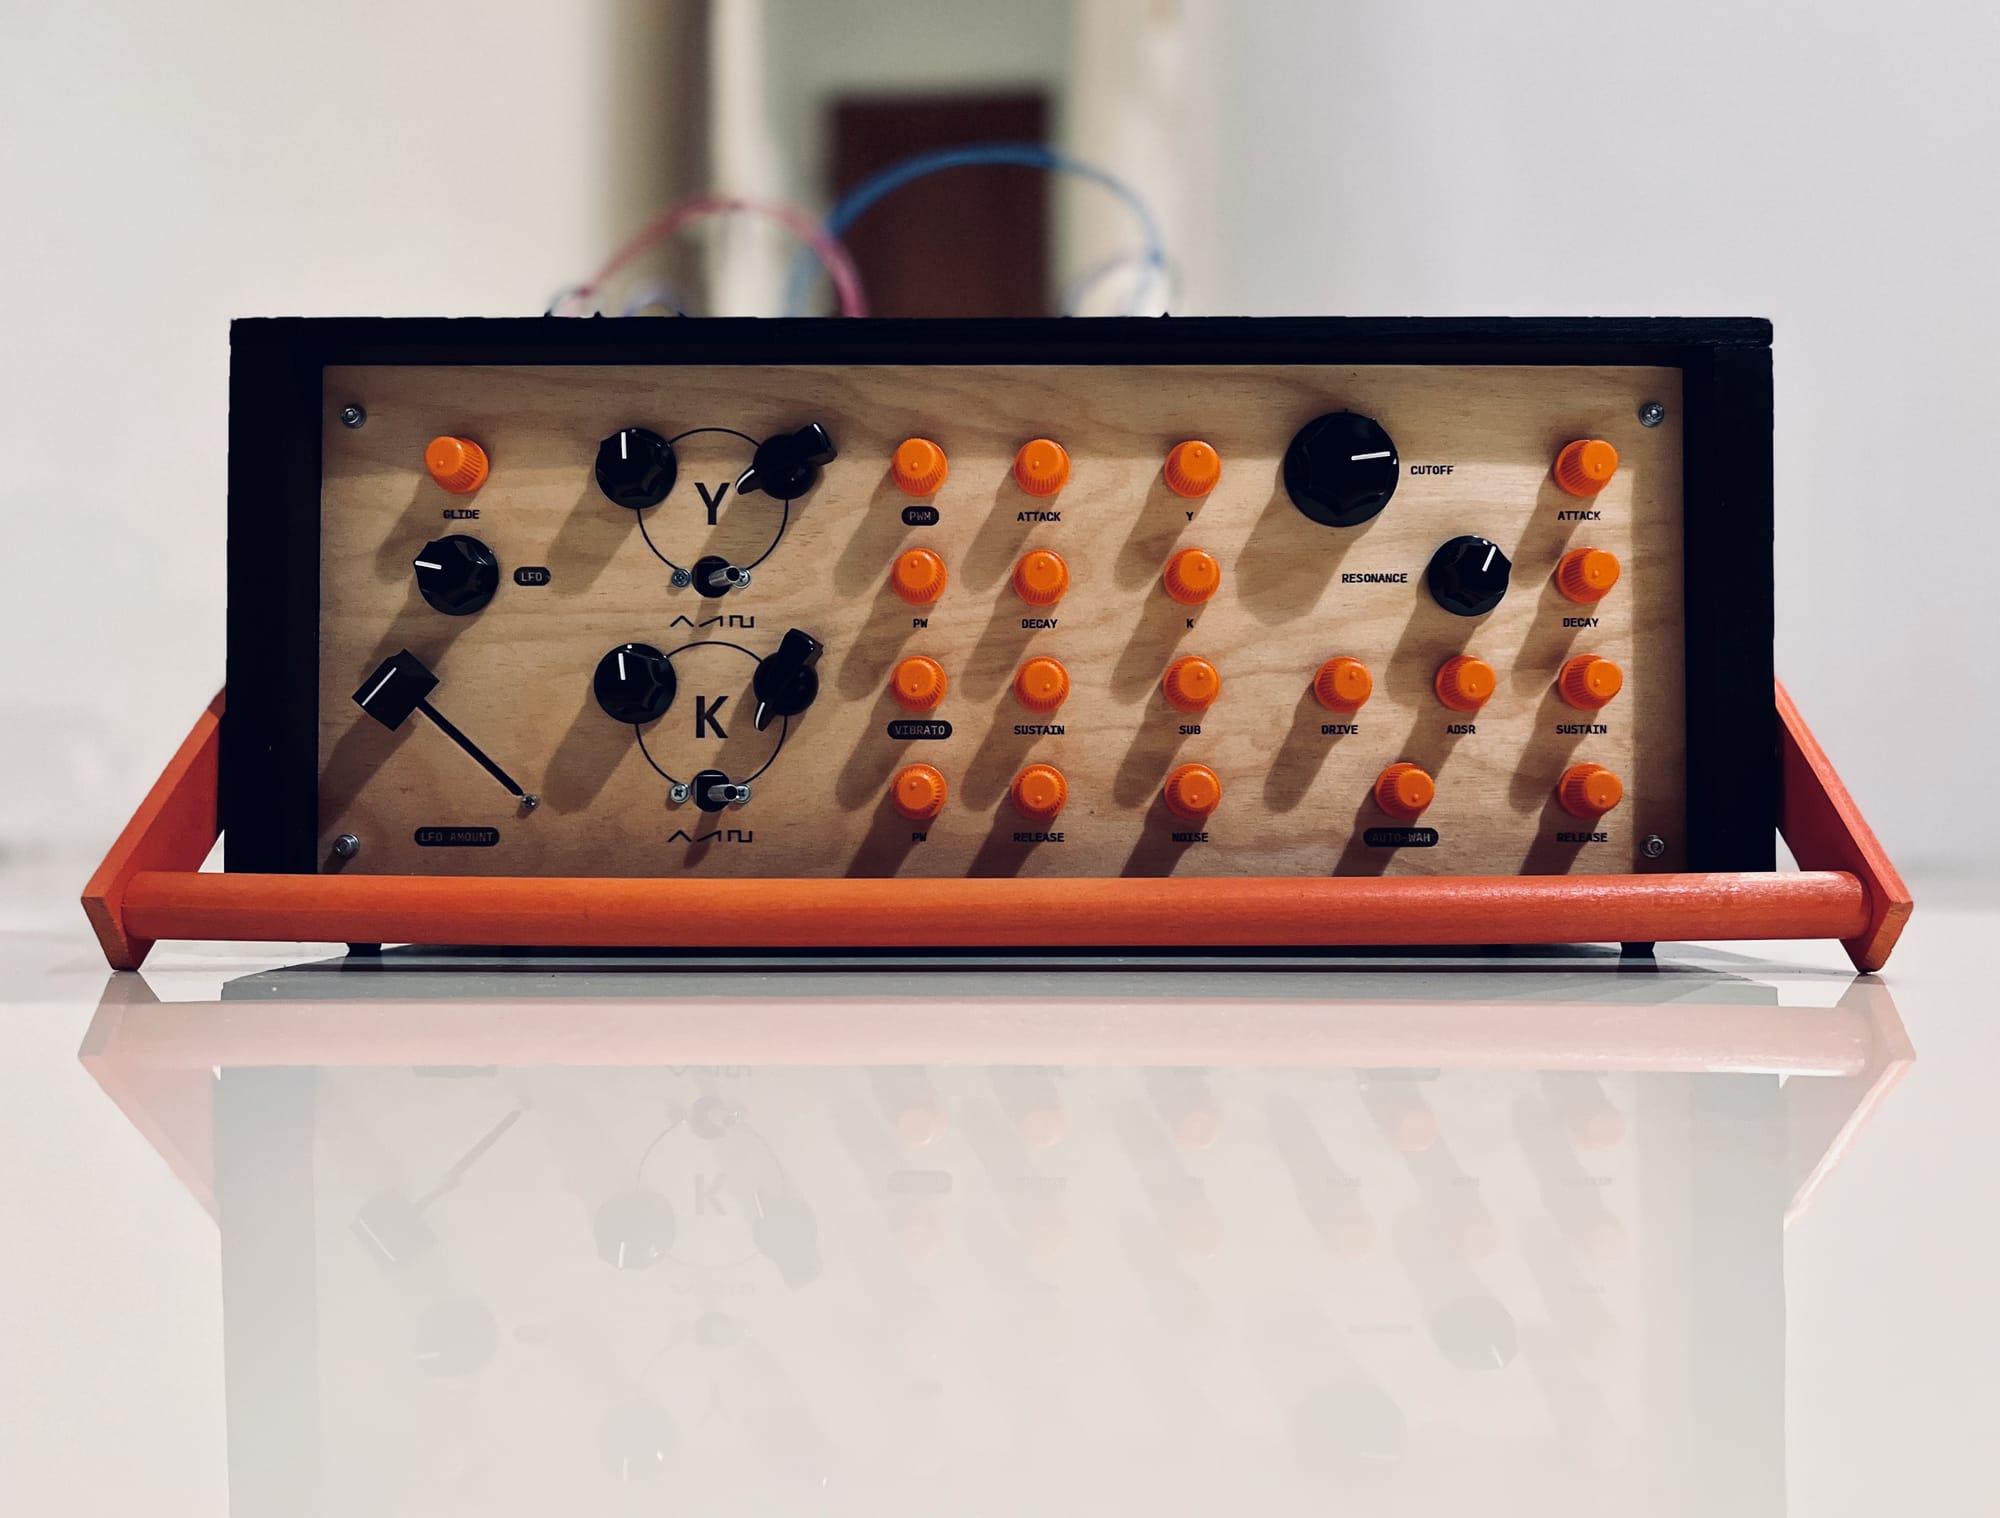
Our latest panels came out beautifully. We’ve shared photos in the last post, check them out. Honestly they look so good we stare at them way too much.
This isn't some secret, unobtainable factory tech. You can do this too. You don't need a factory. You just need a good vector file (AI, SVG, PDF) and a local print shop.
So this is how we're making the Hog Moduleur panels as of today. It's the perfect method for open-source, small-batch, design-first hardware.
That’s it for the second part of Techmology™, our mini-series about the details of building Shmøergh stuff. Next time we might dig into enclosure materials — aluminum, acrylic, plywood, polycarbonate, all the weird stuff we’ve ruined in the shed. Or something else.
Alright, peace ✌️